Difference between revisions of "GT:Load Plan Window"
| Line 12: | Line 12: | ||
| − | ==Update an Existing Load== | + | ==Update an Existing Load Plan== |
Select the Load in the Load field. You can enter the Load if known, or hit the <Control> and <A> keys to bring up a list of the available Loads. | Select the Load in the Load field. You can enter the Load if known, or hit the <Control> and <A> keys to bring up a list of the available Loads. | ||
| Line 23: | Line 23: | ||
| − | + | ==Delete a Load== | |
You can delete a Load by selecting it in the Load field. Then, tab or arrow down to the <Delete> button. Pressing <Enter> while the <Delete> button is highlighted will delete the selected load. | You can delete a Load by selecting it in the Load field. Then, tab or arrow down to the <Delete> button. Pressing <Enter> while the <Delete> button is highlighted will delete the selected load. | ||
| Line 38: | Line 38: | ||
| − | + | ==Add an order== | |
Adding orders to the load is done by tabbing or using the arrow keys to go to the Order # field. In this field, enter the order number, or, to see a list of all available order numbers, press the <Ctrl> and <A> keys. | Adding orders to the load is done by tabbing or using the arrow keys to go to the Order # field. In this field, enter the order number, or, to see a list of all available order numbers, press the <Ctrl> and <A> keys. | ||
| Line 50: | Line 50: | ||
Repeat these steps to add all desired orders to this load. | Repeat these steps to add all desired orders to this load. | ||
| − | + | ==Add an Instruction== | |
| − | You can add an instruction to this load, | + | You can add an instruction to this load. Scroll to the Inst field, by tabbing or using the arrow keys. Enter the desired instruction. |
| + | |||
[[Image:LoadPlan4.gif|500px|Image:LoadPlan4.gif|500px]] | [[Image:LoadPlan4.gif|500px|Image:LoadPlan4.gif|500px]] | ||
| Line 66: | Line 67: | ||
When finished with this screen, press the <Back> button or "Esc" to return to the Shipping menu. | When finished with this screen, press the <Back> button or "Esc" to return to the Shipping menu. | ||
| − | + | ==Removing an order== | |
| − | You can remove an order from the | + | You can remove an order from the Load by selecting it in the embedded result set, and then tabbing or using the arrow keys to highlight the <Remove> button. |
| + | |||
| + | [[Image:LoadPlanRemove1.gif|500px|Image:LoadPlanRemove1.gif|500px]] | ||
| + | |||
| + | You will be asked to confirm your intention to remove this order. | ||
| + | |||
| + | [[Image:LoadPlanRemove2.gif|500px|Image:LoadPlanRemove2.gif|500px]] | ||
| + | |||
| + | Press <Enter> to continue. You should see a confirmation message. | ||
| + | |||
| + | [[Image:LoadPlanRemove3.gif|500px|Image:LoadPlanRemove3.gif|500px]] | ||
| + | |||
| + | Pressing <Enter> while the <Remove> button is highlighted will remove the selected order from this load. | ||
| − | |||
| − | |||
==[[GT:Load Plan Window Settings|Load Plan Window Settings]]== | ==[[GT:Load Plan Window Settings|Load Plan Window Settings]]== | ||
Revision as of 18:26, 25 May 2006
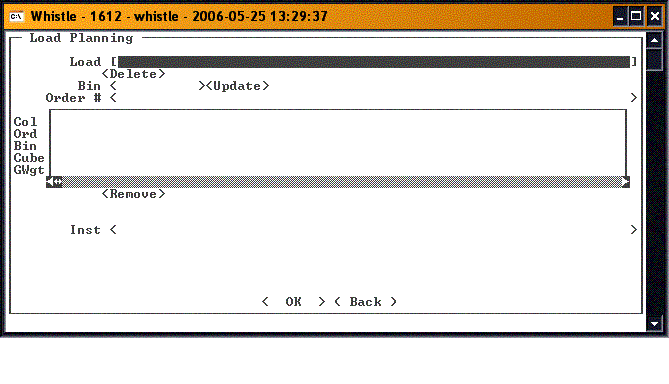
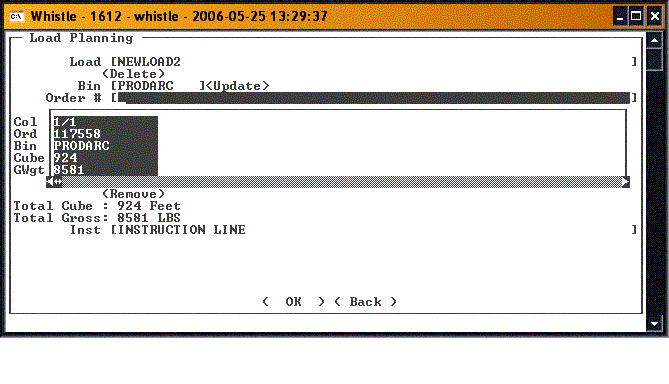
The Load Plan window allows the user to create a load plan for shipping, or to update an existing load plan.
Contents
Create a Load Plan
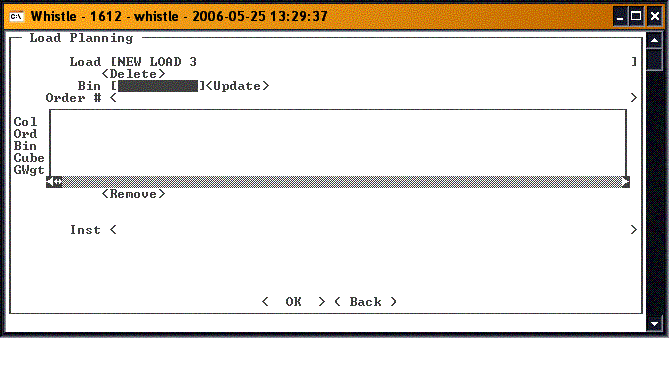
Enter the name of a load in the Load field. If the Load does not exist, a new one will be set up, and created when the <OK> button is pressed.
Add the bin in the Bin field.
Update an Existing Load Plan
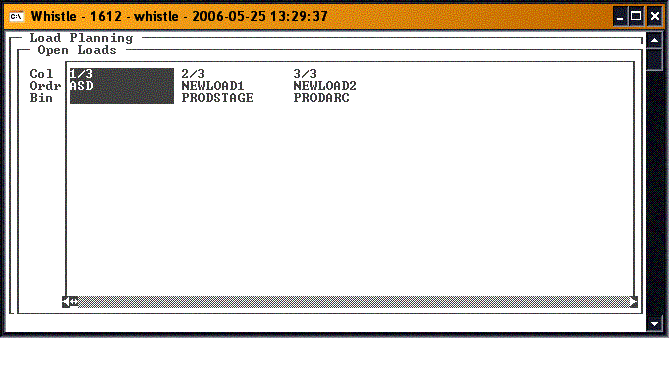
Select the Load in the Load field. You can enter the Load if known, or hit the <Control> and <A> keys to bring up a list of the available Loads.
Use the arrow keys to highlight the desired load, and press <Enter> to select it. The information will fill in the fields on the Load Planning screen. If you entered an existing Load, that information will also fill in the appropriate fields.
Delete a Load
You can delete a Load by selecting it in the Load field. Then, tab or arrow down to the <Delete> button. Pressing <Enter> while the <Delete> button is highlighted will delete the selected load.
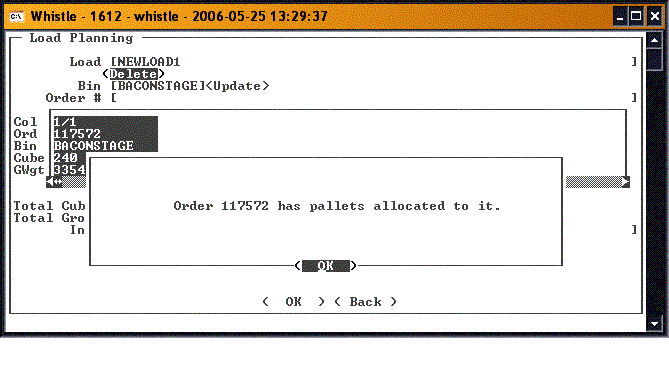
You can not delete a Load that contains an order that has pallets assigned to it. If you try, the following message appears:
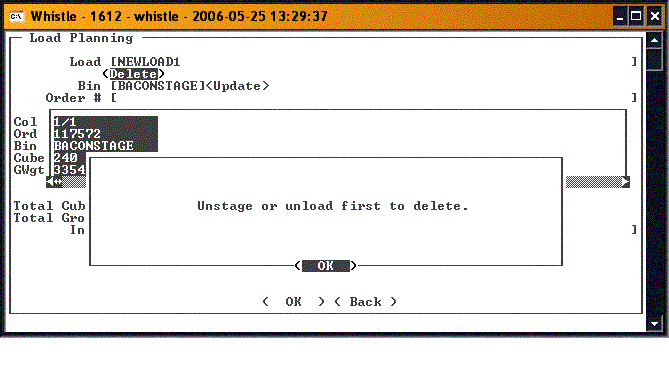
Press <Enter> to continue. You should see the following message:
Press <Enter> to continue.
Add an order
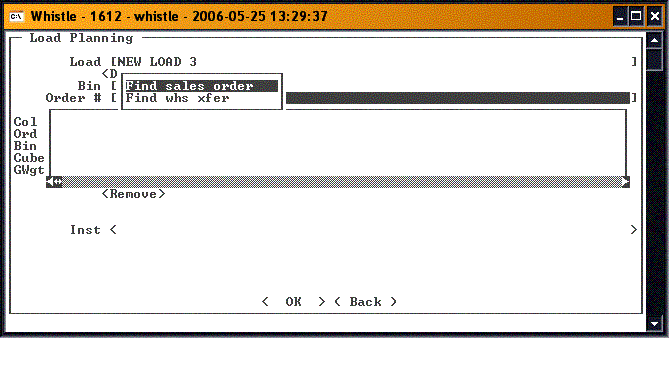
Adding orders to the load is done by tabbing or using the arrow keys to go to the Order # field. In this field, enter the order number, or, to see a list of all available order numbers, press the <Ctrl> and <A> keys.
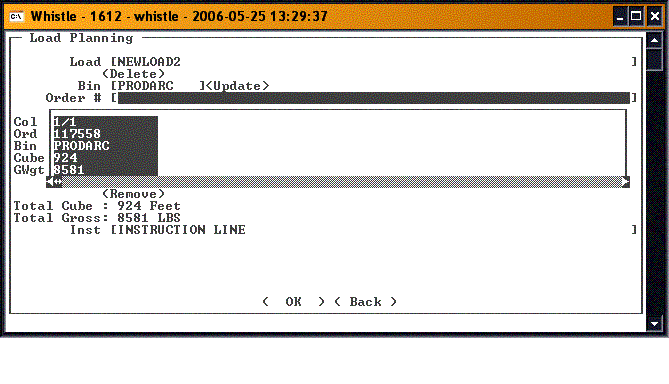
Select the desired order from the list, and press <Enter>. Whistle will return you to the Load Planning screen, and the selected order will appear in the embedded result set in the middle of the screen. If you entered or scanned the order number into the field, it would also result in adding the order to the load and displaying it in the resultset.
Repeat these steps to add all desired orders to this load.
Add an Instruction
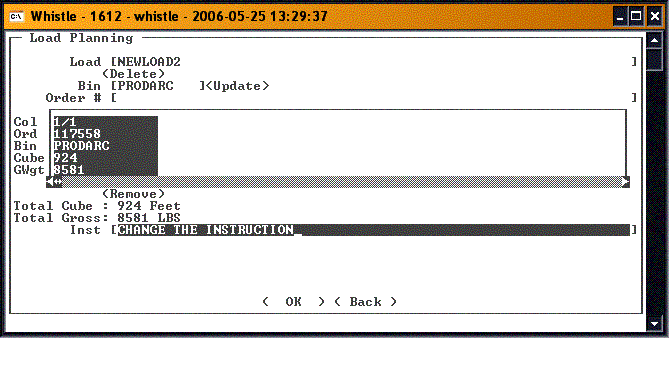
You can add an instruction to this load. Scroll to the Inst field, by tabbing or using the arrow keys. Enter the desired instruction.
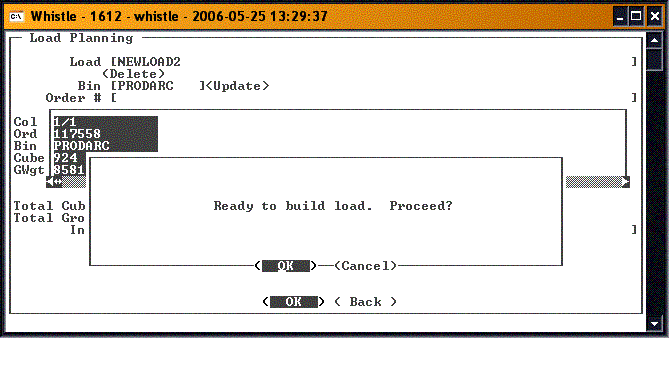
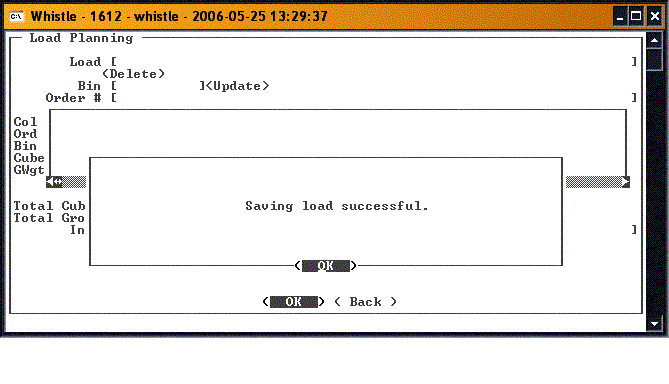
When finished, press the <OK> button to finish creating or updating the Load.
You will be taken back to the Load field, to set up another Load.
When finished with this screen, press the <Back> button or "Esc" to return to the Shipping menu.
Removing an order
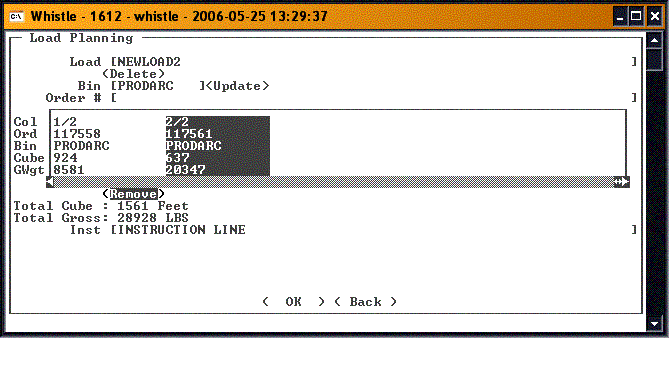
You can remove an order from the Load by selecting it in the embedded result set, and then tabbing or using the arrow keys to highlight the <Remove> button.
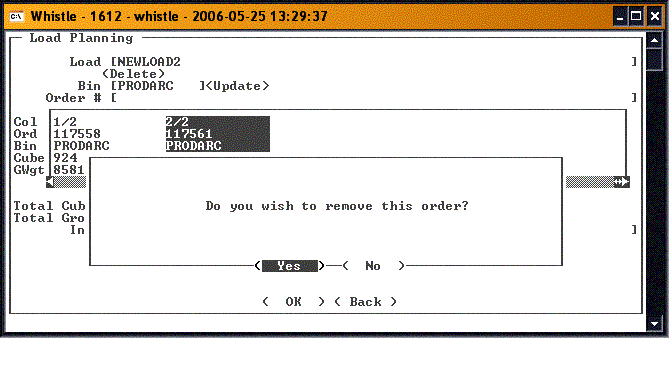
You will be asked to confirm your intention to remove this order.
Press <Enter> to continue. You should see a confirmation message.
Pressing <Enter> while the <Remove> button is highlighted will remove the selected order from this load.
