QC Net Content
Contents
QC Net Content
Introduction
This section describes how to use the QC Net Content application for capturing and recording individual package data samples for periodic inspection plans. The application allows for the monitoring and collection of sample data on multiple lines from a single kiosk-style console.
Accessing the Application
The QC Net Content application should be active on your QC touchscreen station. You must log on to the application using the supplied credentials for the unit you are operating.
Inspection Operations
Tab (Machine/Line) Structure
- The application supports running multiple inspections simultaneously.
- Each inspection is hosted inside of its own tab.
- While configurable, normally only 3-4 tabs are offered per QC station.
- Clicking on any of the tabs brings that tab's inspection window to the top of the screen.
- Once an inspection is selected and running, the tab will reflect the Inspection Timer and Order and Item details.
- You can change tabs any time you are not in a Sample Collection window taking samples.
Inspection - Creation
- To create an inspection, the user must provide a valid :
- Line Number (Machine / Operation)
- Production Order and Output Item/Pack
- Lot#
- Shift
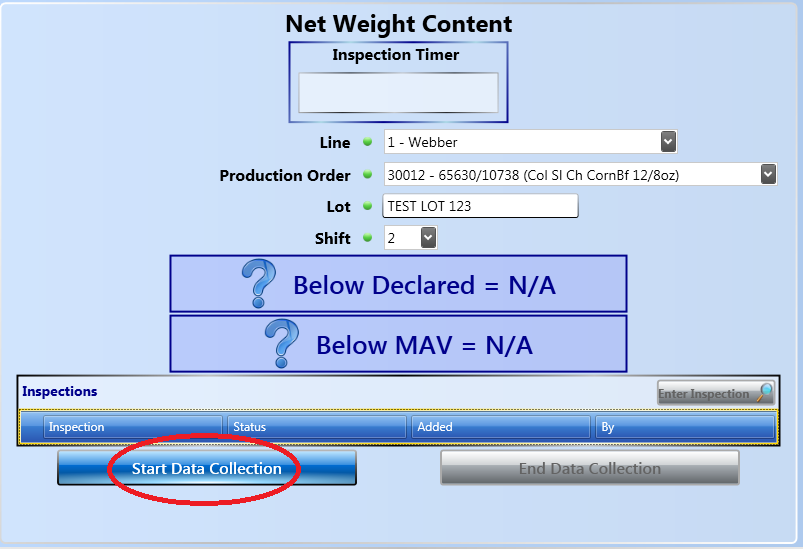
- After these items have been entered, clicking on the "Start Data Collection" button creates the initial inspection record and begins the Inspection Timer.
- A normal timer process of collecting samples begins with the initial collection of the first sample.
- This is accomplished by pressing the Enter Inspection button located in the top right corner of the Inspection Record Grid.
- Inspection process:
- Inspection Timer will reach the warning period and turn the window and tab YELLOW as a warning to the user.
- Inspection Timer will reach the sample collection period and turn the window and tab RED and transfer the user to the Sample Collection window.
- After completing, aborting or running out of time to collect a sample set, the user will be returned to the Inspection window to await the next inspection.
Inspection - Field Layout
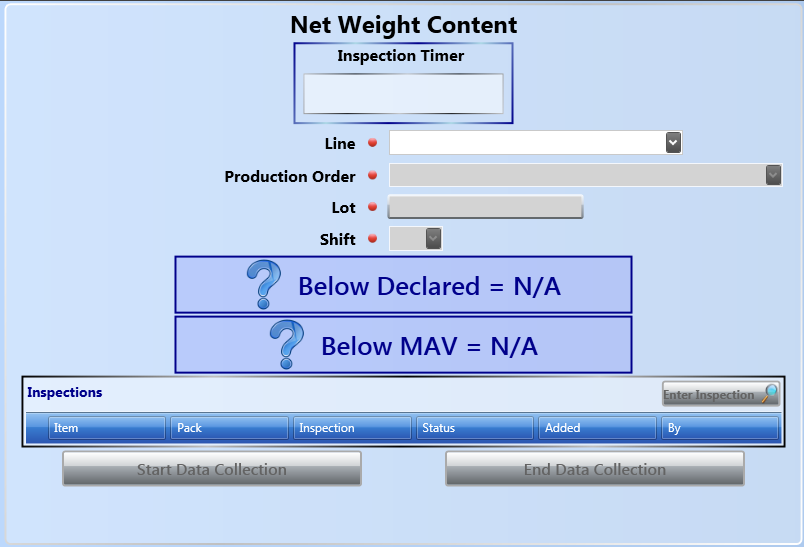
Inspection Timer (Timer)
- When entering new inspection information, the timer will not have yet started and is blank.
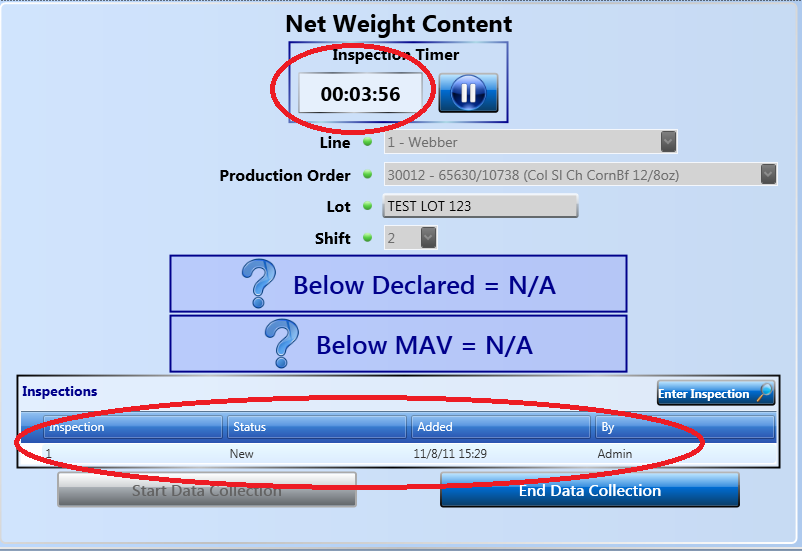
- Once enough information has been entered and the user starts the collection process, the timer begins a count down.
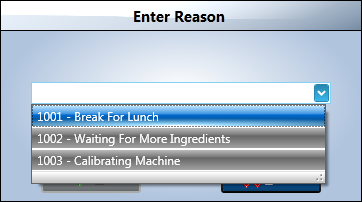
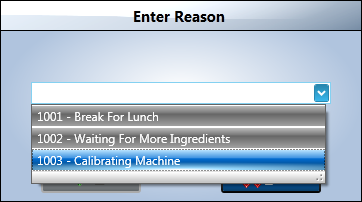
- The Pause button can be used to pause the Inspection Timer on an inspection run and an appropriate reason code must be chosen.
- To resume the Inspection Timer, the user needs to press the Play or Un-Pause button.
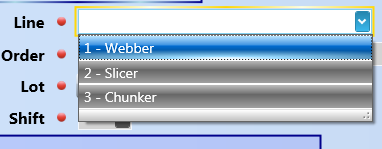
Line Number Field (Drop-Down Menu)
- The user uses this field to select the appropriate Line Number (Machine and Operation) for the inspection.
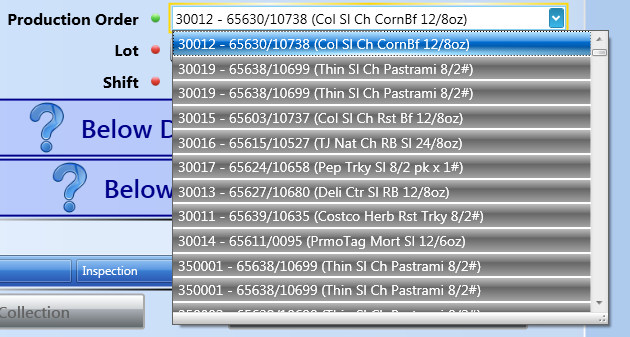
Production Order Field (Drop-Down Menu)
- The user uses this field to select the appropriate Production Order, Item and/or Pack for the inspection.
Lot Field (Text Field)
- The user manually enters the lot number into this field for the production run to be inspected.
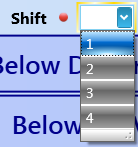
Shift Field (Drop-Down Menu)
- The user uses this field to select the appropriate Shift for the production run to be inspected.
Sample Data Operations
- The Sample Collection window is an operation of an Inspection and is held inside an Inspection Record.
- Each set of sample data will record the weights of the samples being inspected.
Sample Data - Collection
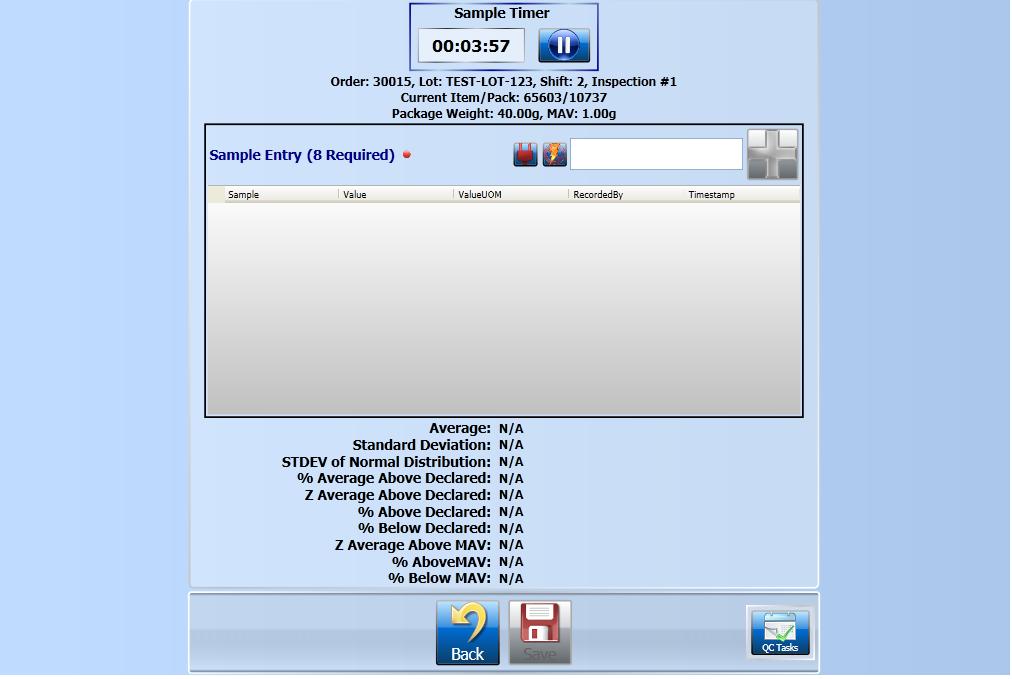
- To collect a set of sample weights, the user must place each product sample on the scale and record the individual weights using this screen.
- Once the user is finished entering sample weights, the user can select the "DONE" button to exit the window and return to the Inspection window.
Sample Data - Field Layout
Sample Timer (Timer Control)
- The Sample Timer gives the user a specific amount of time to collect the sample weights.
- Should the Timer expire before all of the samples are collected, the Sample Collection window is closed and the Inspection record is closed with only the samples that were entered in the time allowed.
- Should the user need to pause the Sample Timer, they may click on the pause button and will be asked to enter a reason code.
Inspection Information (Display Field)
- Below the Sample Timer the Production Order, Item and Lot are displayed for reference purposes.
Weight Field (Scale Weight Control)
- After placing the product on the scale, the user can press the "RED-Plus" button to add the sample to the inspection record.
- Each sample that is recorded is placed in the Sample Record Grid below and the Samples Required counter is updated.
- After all of the required samples are recorded, the "DONE" button appears at the bottom of the screen and his available for closing out the window.
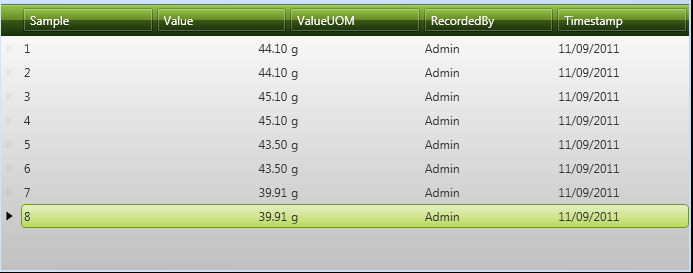
Sample Record Grid (Grid Control)
- The Sample Record Grid hold each sample weight record taken.
- Should the Sample Timer expire before all "Samples Required" are entered, the window is closed and the record is locked.
- Should the user enter more samples than the "Samples Required" counter, they will also be added to the Sample Record Grid and become part of the collection.
Done button (Button Control)
- The Done button is only displayed on the bottom button bar when enough samples have been entered to meet the Samples Required value.
- Once the Done button is made visible, clicking on it closes the Sample Collection window and locks the sample records.
Report Operations
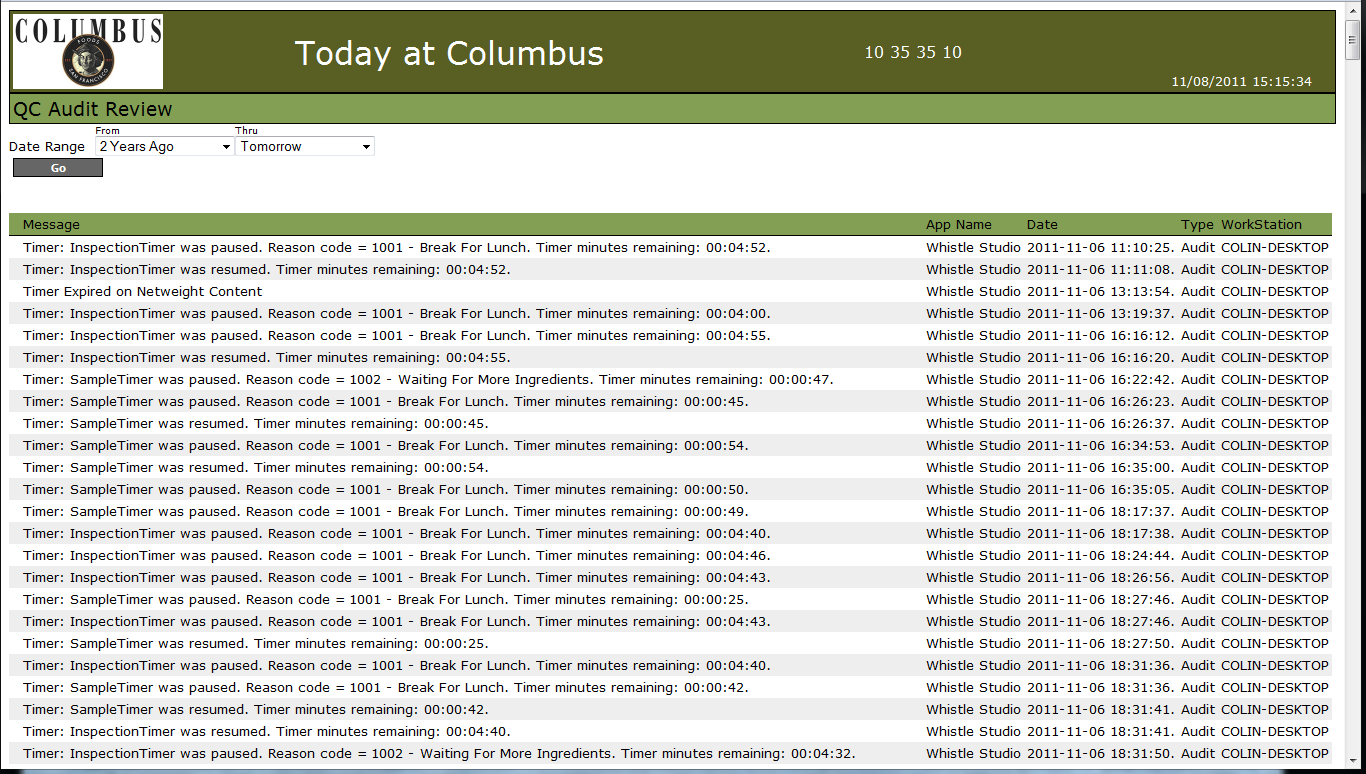
Report - Dashboard Audit Log
In the Dashboard, select QC Audit Log. You will see a screen asking for the start and end dates of the information you wish to review. Select the dates from the dropdowns, and press the Go button. The report will then display.
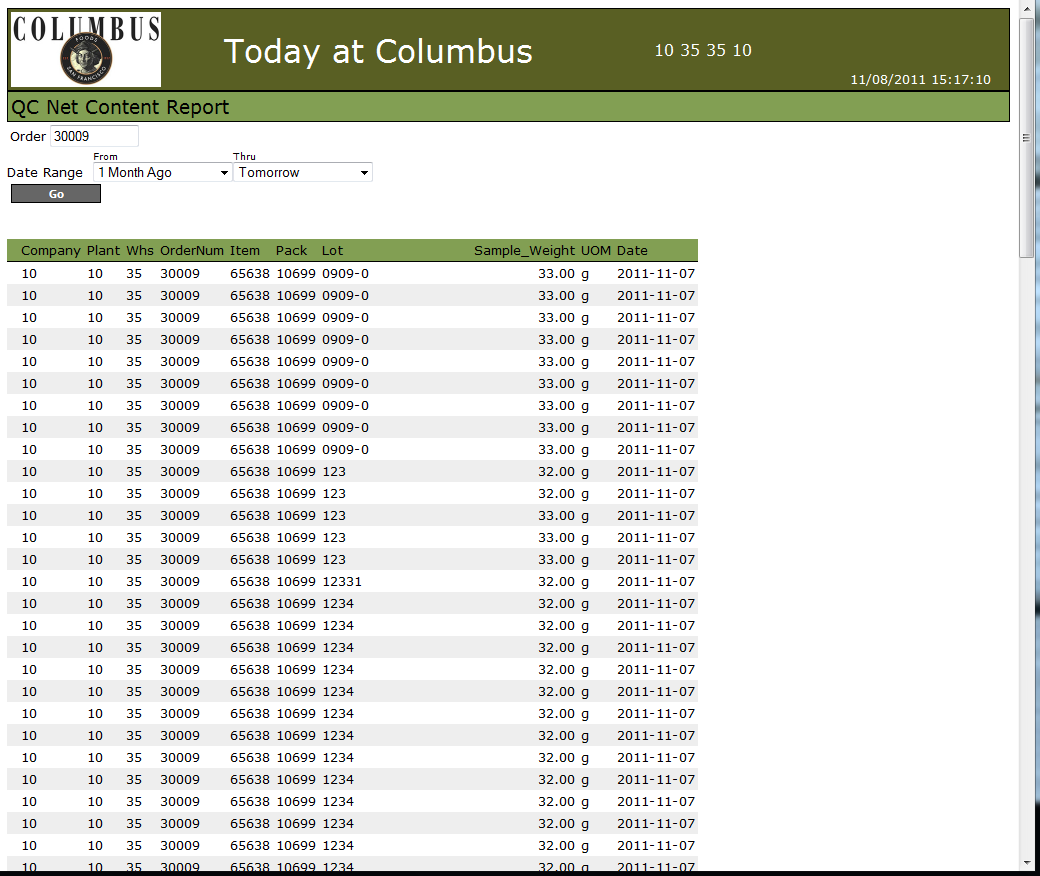
Report - Dashboard Net Content Sample Data
This report will show the samples taken per order. In the Dashboard, select QC Net Content Report. You will see a screen asking for the Order number you wish to view, and the start and end dates of the samples taken. Enter the Order number, select the dates from the dropdowns, and press the Go button. The report will then display.
Maintenance Operations
Maintenance - Correcting and Appending Inspections
Maintenance - Correcting and Appending Sample Data
Example Inspection and Sample Collection
Single Timer Situation
New Inspection
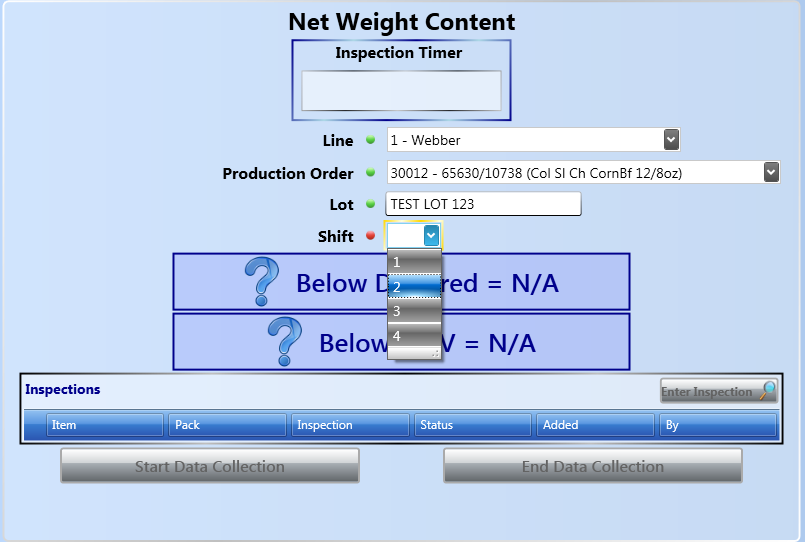
- Beginning with a clear QC Net Content screen, the user will be asked to supply criteria into various input fields to create a new inspection.
Choosing the Line number
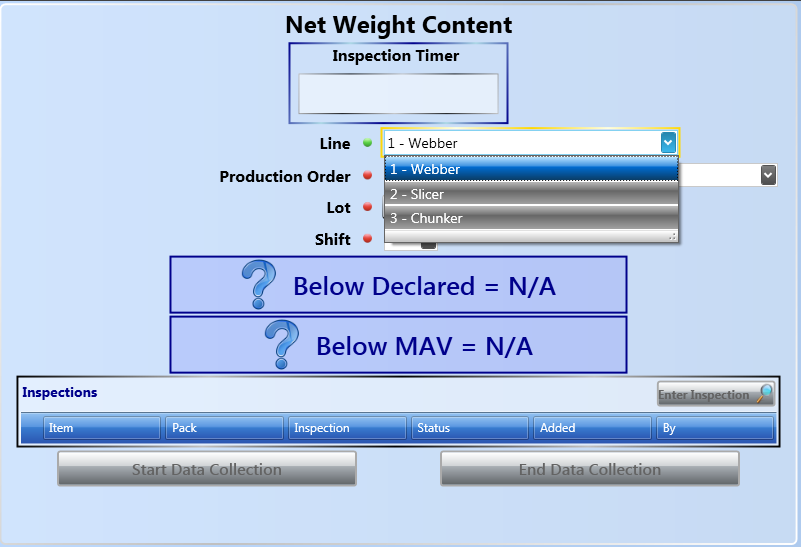
- From the Line field, the user is offered a drop-down selection of available line numbers to choose from.
- The user should select the line that corresponds to the inspection from where the samples will be collected.
Choosing the Production Order and output Item and/or Pack
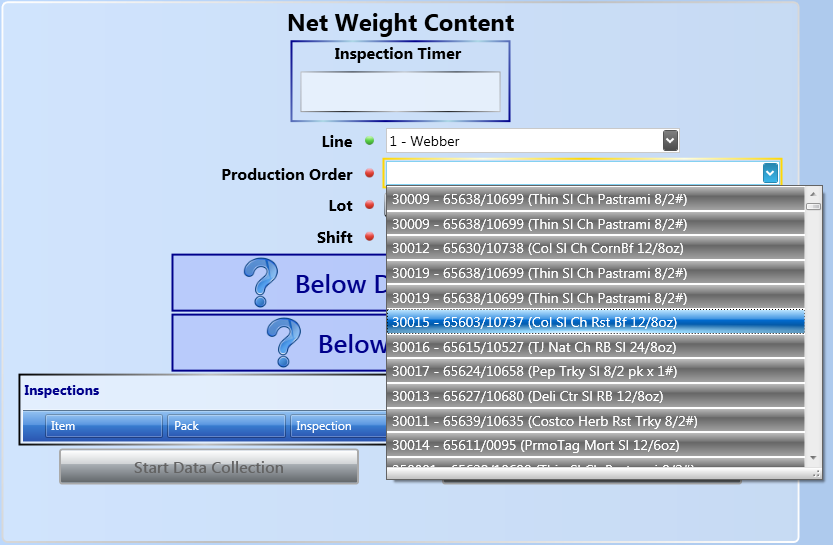
- The Production Order field will offer the user a drop-down selection of all available Production Orders and their corresponding output Item and/or Packs along with a product description.
- The user should select the Production Order and Item/Pack that corresponds to the inspection from where the samples will be collected.
Choosing the Lot number
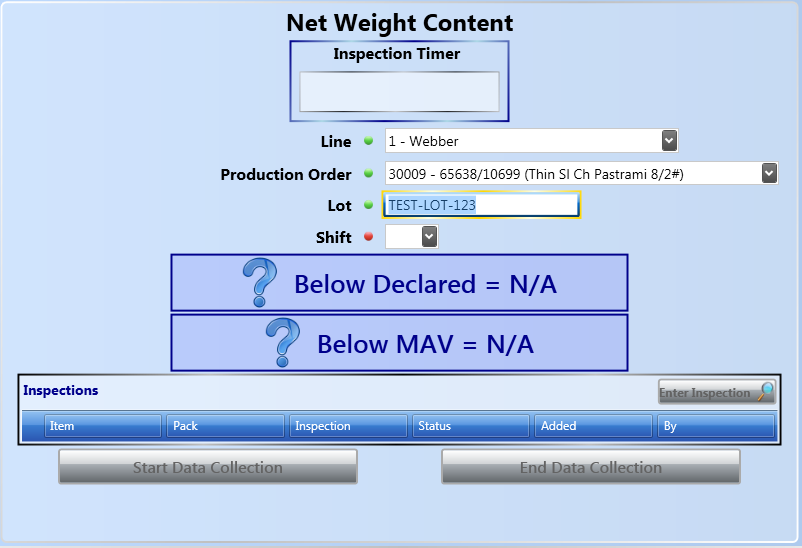
- The user must manually enter the lot number that is being used for the production run being sampled.
Choosing the Shift
- The user must select the appropriate work shift that corresponds to when the inspection samples will be collected.
Start Data Collection
- Now that the inspection criteria has been entered, the user can begin the inspection process. This is done by Pressing the Start Data Collection button.
- A new Inspection Record will be created for the entry of samples.
- The Inspection Timer will begin counting down until the time for the next sample collection.
Collecting the Sample Data
- When the Inspection Timer approaches the sample collection time, the user will be taken to the Sample Collection Screen.
Multiple Timer Situations
Return to SPC


