Difference between revisions of "36:Palletize Flow"
| Line 41: | Line 41: | ||
[[Image:PalletFlow5.gif|Image:PalletFlow5.gif]] | [[Image:PalletFlow5.gif|Image:PalletFlow5.gif]] | ||
| − | + | There may be a '''Print''' checkbox and '''Copies''' checkbox present. Checking the Print box instructs Whistle that the user wants to print a pallet tag for this updated container. The Copies box instructs Whistle on how many tags to print out. | |
| + | Highlight “<OK>” and press “Enter”. | ||
| + | |||
| + | Whistle will ask if you would like to proceed with this transaction. | ||
| + | Press "Enter" to proceed. | ||
[[Image:PalletFlow6.gif|Image:PalletFlow6.gif]] | [[Image:PalletFlow6.gif|Image:PalletFlow6.gif]] | ||
A completion message should appear upon the successful conclusion of the transaction. | A completion message should appear upon the successful conclusion of the transaction. | ||
| + | |||
| + | ==Non Catchweight== | ||
Revision as of 19:06, 23 July 2007
This window is used to palletize inventory onto a specific pallet. The pallet to be used is set up in the System Level Settings, "Default Pallet for Palletize Flow".
Note: This pallet must be in a TEMP bin.
Like Report Production, this is one of the "tabbed" windows. See Report Production Window for information on tabbed windows.
Palletize Flow
Select Palletize Flow from the Production menu.
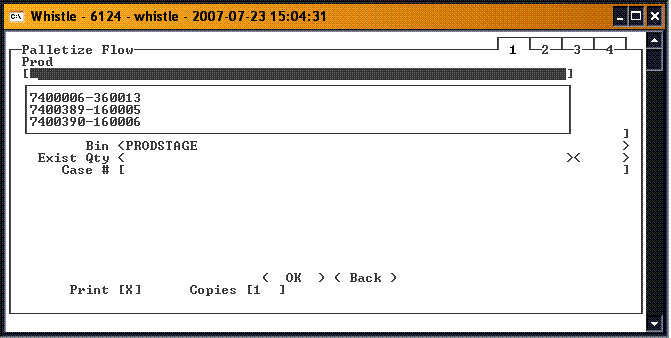
Depending on the Window Settings that have been set, you will see either a field for entering either Prod(ucts) or Item/Pack combinations.
You can either select from the list, or manually type in the desired product or item/pack.
Note: If you enter in the selection manually, it must match an entry on the list.
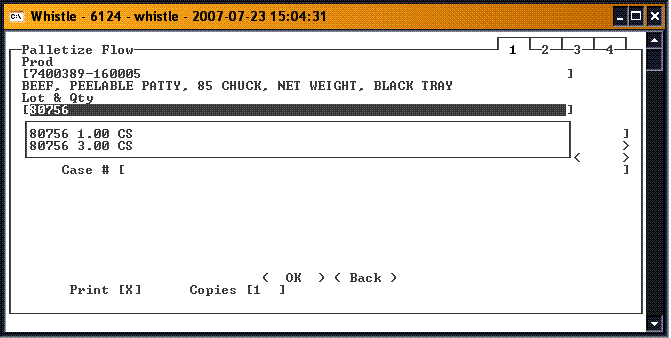
When you tab to the next field, the Desc field will fill with the description of the selection from above. The Lot & Qty field will fill with all of the lot/quantity selections for the Product or Item/Pack currently selected.
You can either select from the list, or manually type in the desired Lot & Qty.
Catchweight Inventory
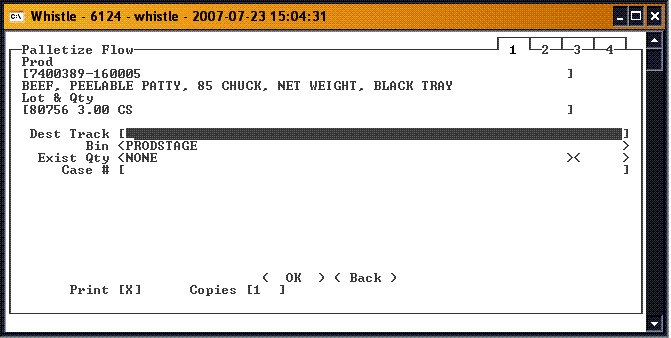
The rest of the window will display depending on the Window Settings that have been set. If you have selected "Use preprinted labels by default", then you should see the Dest Track field displayed, for you to enter the Destination Track information. If the window setting was not turned on, you should only see the Case field.
OR
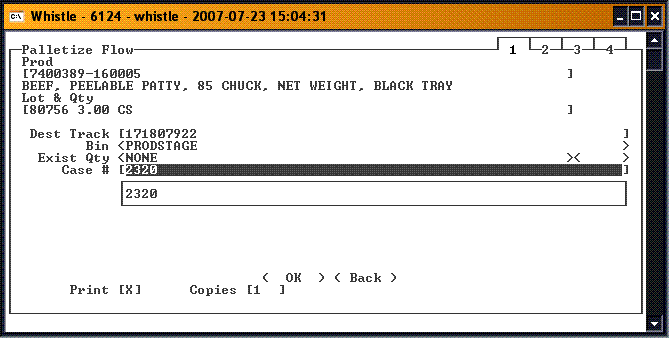
If available, fill in the Dest Track information. Scan or enter the destination container tracking number. You may also use "Ctrl-A" to begin an inventory-query based on the Find Inventory window to find a particular pallet.
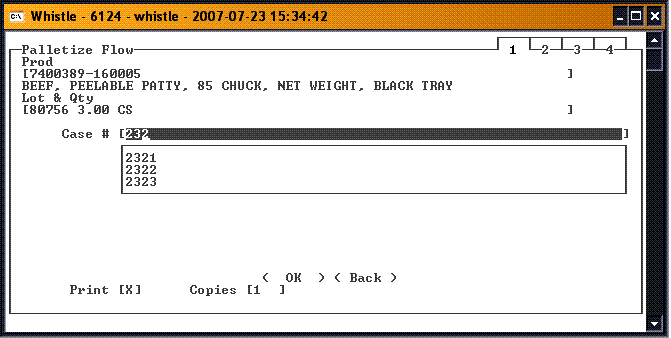
Select the Case. You can either select it from the list, or manually enter the case number.
Note: If you manually enter the number, it must match an entry on the list.
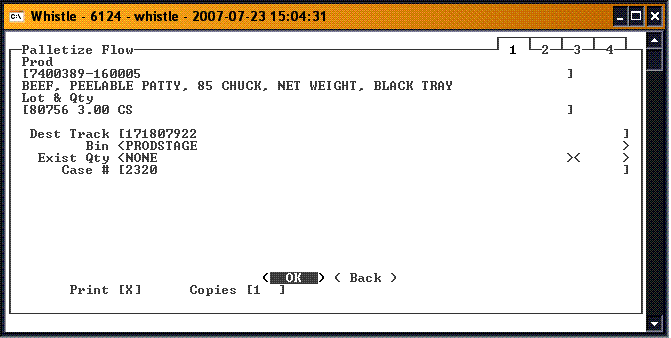
There may be a Print checkbox and Copies checkbox present. Checking the Print box instructs Whistle that the user wants to print a pallet tag for this updated container. The Copies box instructs Whistle on how many tags to print out. Highlight “<OK>” and press “Enter”.
Whistle will ask if you would like to proceed with this transaction. Press "Enter" to proceed.
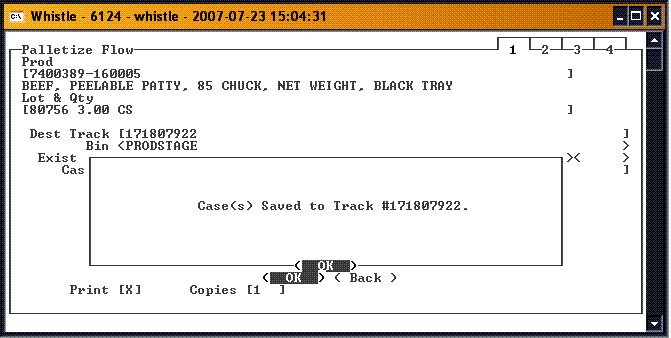
A completion message should appear upon the successful conclusion of the transaction.
