36:Pallet to Pallet Transfer
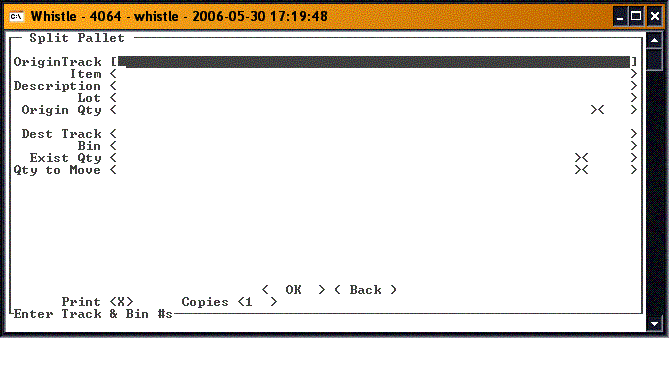
This screen allows the user to build mixed pallets or add additional items to an old pallet by transferring items from an existing pallet. Whistle will generate a new tracking number for the container/pallet that will allow it to be tracked by the system.
To perform a pallet to pallet transfer
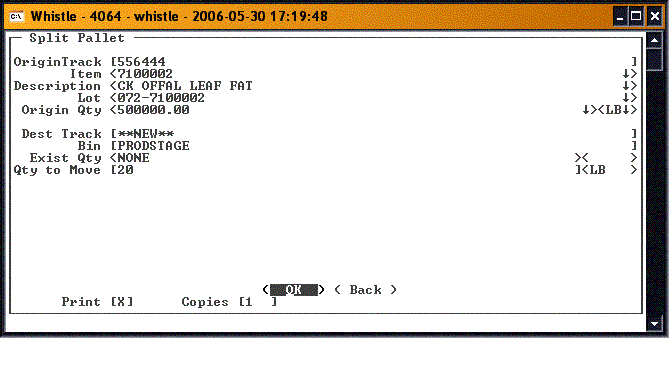
Select (2) From Pallet from the ‘Pallets’ menu, or "Split Pallet" from the Main menu.
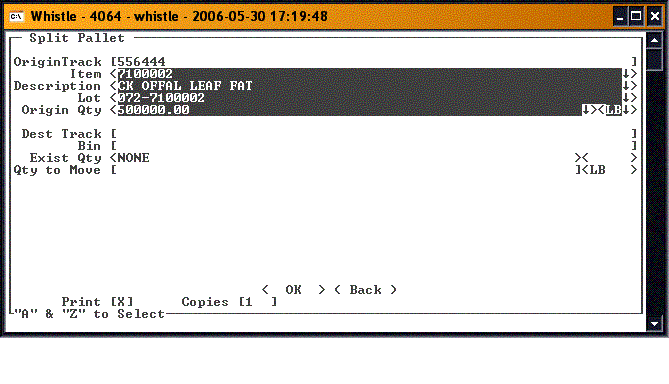
Enter the tracking number of the container that you are transferring items from. Whistle will load the container detail information into the pallet transfer screen.
Select the item you wish to transfer by using the "A" and "Z" keys.
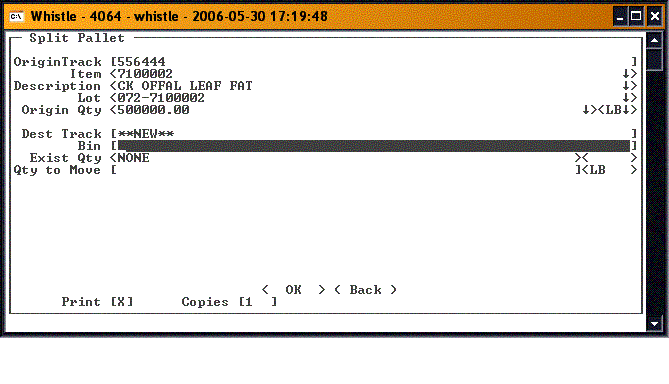
Enter the Track # of the container you are transferring the items to. You can enter the tracking number in three different ways:
Skip the tracking # field if you would like Whistle to choose a tracking # for you. Whistle will put in the string ***NEW*** to signify that it will be creating a new pallet.
If you know the tracking #, type it in. Whistle will check if the track # you entered exists. If it does, Whistle will prompt you for a destination Bin #. If you entered a new tracking number, Whistle will ask you if you would like to create this tracking number.
You may perform an Find Inventory to locate a specific tracking #. Press "Ctrl" and "A" to enter the inventory query screen.
- NOTE
- You may view the container details of a specific tracking number by pressing "Ctrl" and "A" while the cursor is positioned in the Dest. Track # field.
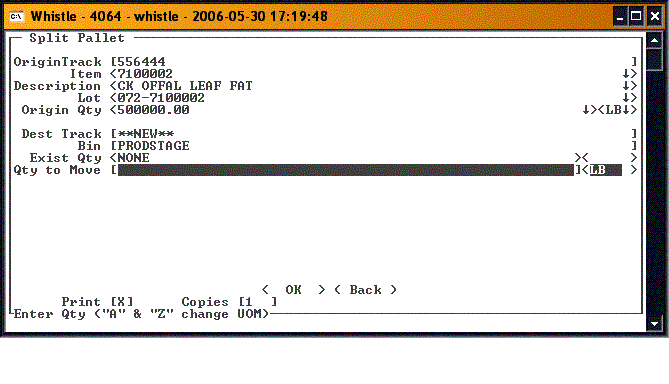
Enter the destination Bin #.
Enter the quantity (in the uom’s specified) of the item you wish to move.
Select "<OK>" to process this transaction.
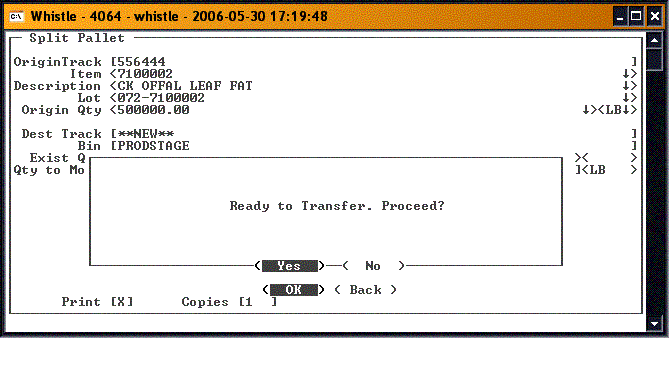
The following screen will appear:
Select "<Yes>" to continue.
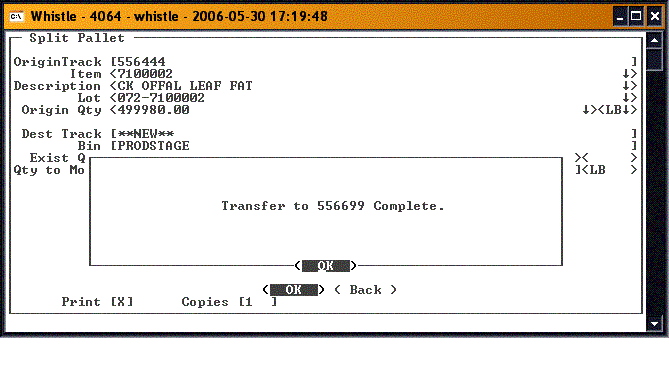
The following confirmation message will appear if the transfer was completed successfully:
Select "<OK>" complete this transaction.
