36:Printer Window
This feature is used to select the Whistle default printer. It is also used to set up new printers, delete printers no longer in use, or update printer information.
To Choose a Printer
Select "Printer" from the Misc menu.
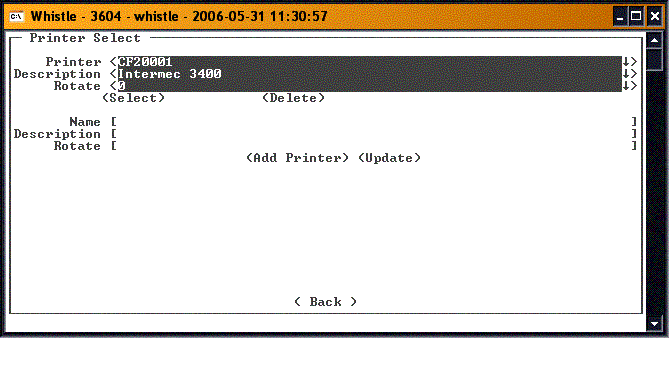
This screen displays several fields: the printer field along with the printer description are used to select one of the printers in the database to be used as your current printer. The "Name" and "Description" fields in the lower half of the screen are used to add a new printer into the database.
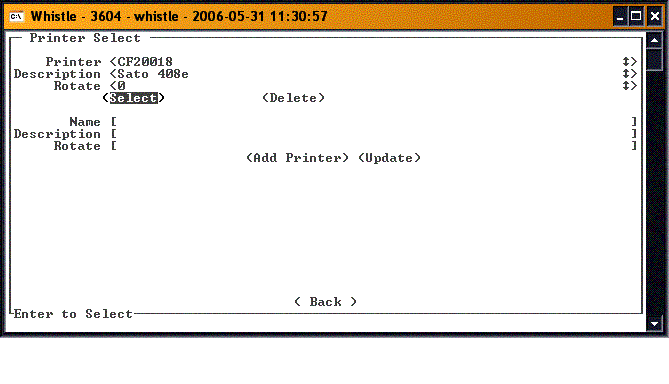
Use the <A> and <Z> keys to scroll through the list of available printers.
Press <Select> once you have chosen the appropriate printer.
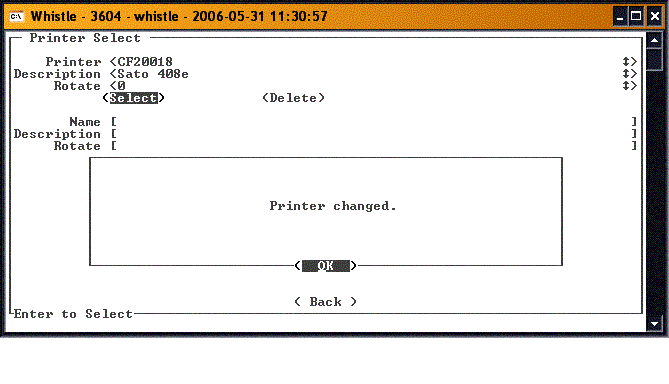
The following message will be display if the selection was successful:
Press <Enter> to clear the message.
Delete a Printer
Use the <A> and <Z> keys to scroll through the list of available printers. When you have found the one you wish to delete, tab to the <Delete> button and press <Enter>. The printer information will be deleted from the database.
Choose Back or Esc to exit the printer selection screen.
To Add a Printer
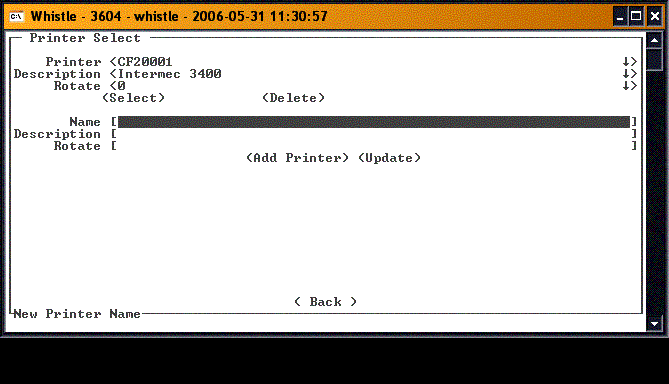
Enter the exact name of the printer (the name the computer knows it as) in the Name field.
Enter a Description of the printer in the description field. This is used as an aid to the user in identifying the exact printer. You may enter anything you like into this field.
Select (Add Printer) to add the printer to the Whistle database. This printer will be set as your default printer. If you do not want this to be your default printer, select a different printer using the printer select option.
Choose Back or Esc to exit the printer selection screen.


