QC Forms - How to Create a QC Form
This section will give you a step-by-step example of creating a new QC Results screen, using the Forms Designer tool, add a few controls to it, and save it. As mentioned before, be sure the user you are logged in as has the SD QC FORMS DESIGN permission assigned to them. Once your user has this permission, a screen button named 'QC Forms Designer' will appear under the 'QC Results' studio tab.
This example is going to walk you through the creation of a new QC Results form, called Label Inspection. It will contain several controls, and will have all the needed to utilize the controls. It will also have a child form, and will demonstrate how to add and attach a child form.
Contents
- 1 Launching the Forms Designer Tool
- 2 Add New Screen
- 3 Add a screen title label
- 4 Add a date control
- 5 Add a drill-down grid control
- 6 Create a child data collection form
- 7 Add a keys label
- 8 Add an image control to collect picture of label
- 9 Add some pass-fail controls
- 10 Add an optional comments field
- 11 Link the forms together
- 12 Open up the forms we created in the client
Launching the Forms Designer Tool
Click this button to launch a new instance of the QC Forms Designer screen.
Add New Screen
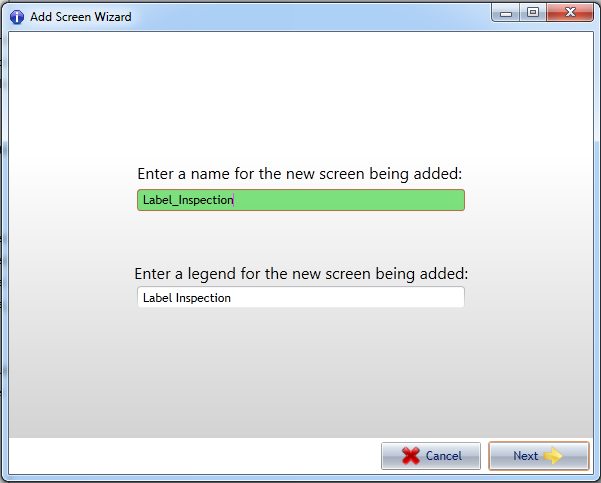
On the ribbon bar at the top of your screen, you will find the Add New Screen button. Click on this button to create your new screen. A dialog wizard will pop up asking for the Screen Name and Legend. Fill in the Name field with Label_Inspection, and notice that the Label is automatically filled in with Label Inspection. The Name field is not allowed to have any spaces in it, so an underscore is used between words. The Screen Name is how your screen will be referred to in Coolscript and as your table names in the the database. The Legend is how the form name will appear in human readable places, such as the descriptions and the menus.
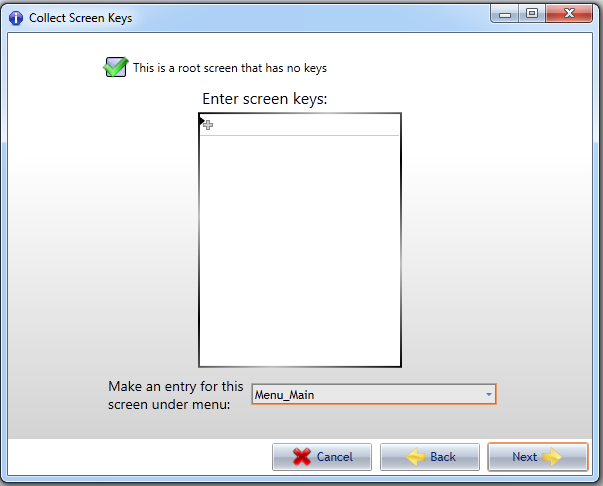
Declare the first screen as a root screen, which means it has no keys. The root screen for a form does not persist data to the database, and so it has no keys. Setup the screen and click on the "root" screen checkbox.
You can also optionally attach this screen to the menu system at this point (recommended). You can also do the same thing in the menu editor, if you choose to do it later.
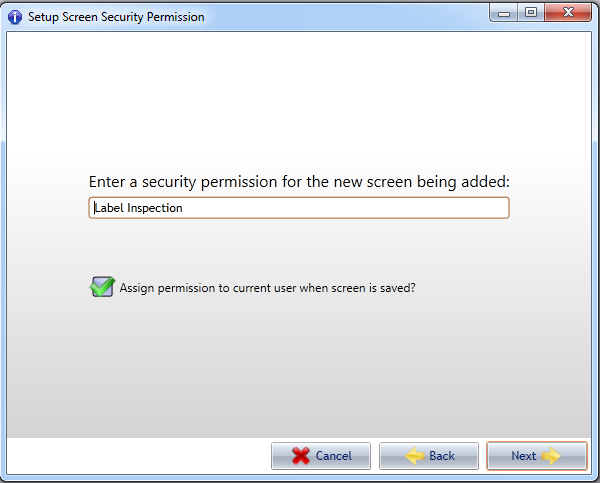
Next, you will see a screen for setting up the security keys for this new screen. You can also assign this new permission to the logged in user.
Add a screen title label
Go to the pane on the left side of the screen. Currently, Project Explorer is on top. Click on the Controls tab.
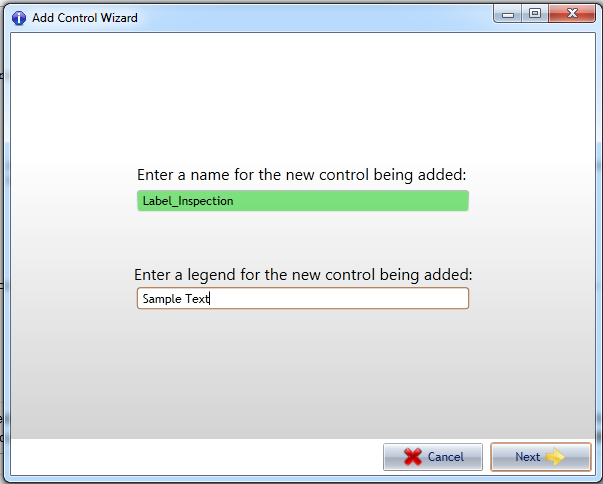
Select the Label text control by clicking on it. Drag it to the screen, and release it. You will see the Add Control wizard, asking for the text for the label. Enter the label. The Text field will automatically fill in with the same value as the label. Just to demonstrate, change the value in the Text field to Sample Text, and press Next. The label will appear on the screen.
Add a date control
On the Controls tab, select the Date Editor control. Drag it onto the screen, and drop it underneath the label. Go through the control wizard, giving it a label. For this example, we will give it the name Date.
Add a drill-down grid control
Drag the Drill-Down Grid control onto the form, and enter a name into the wizard that pops up. In this example, the name will be Inspection_Entry.
CoolScript entry for filling grid
Now that we have the date and the grid controls, they need to be set up so that existing rows will show in the grid at the correct time. Some CoolScript needs to be added to the Date control, to run when the value in the control changes. At that point, it will load any existing information into the grid. Select the Date control on the form, select the Code tab, and press the Add key on OnFieldChanged. You will see the editor pane at the bottom middle of the screen. Go there and enter:
Create a child data collection form
Click the "Add Screen" button and follow the instructions in the wizard, just as you did earlier. We are creating a child screen to be called by our Label Inspection screen. Name the screen Inspection_Child. The keys for this form will be Date and Inspection.
Add a keys label
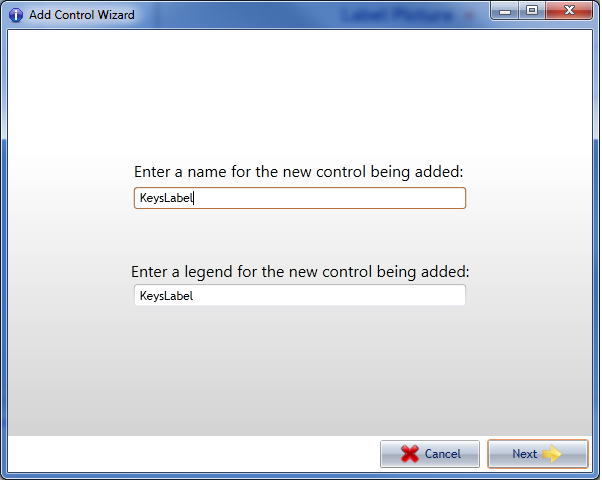
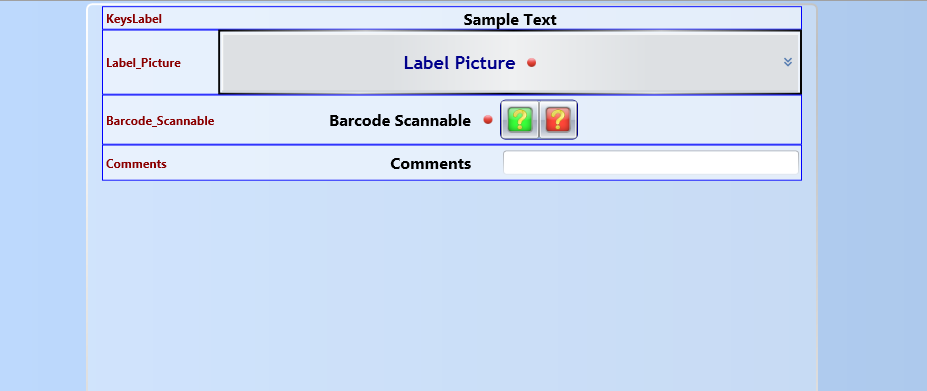
This will display the keys that are passed to the child screen. Drag a label control from the control pallet onto the form. When the Add Control Wizard pops up, type "KeysLabel" in the name field and click Next. Note the legend name is automatically generated for you.
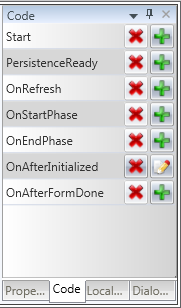
Select the new label control, now located on the form, then show the Code property sheet.
Double click the OnAfterInitialized event in the code property sheet. The code editor window should appear. Enter the code shown below into the editor.
Add an image control to collect picture of label
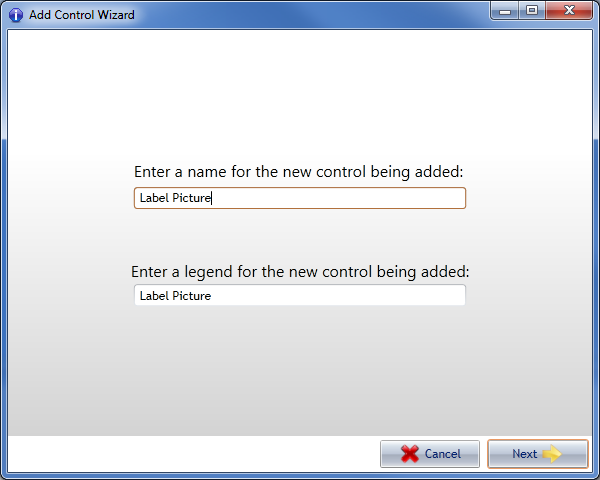
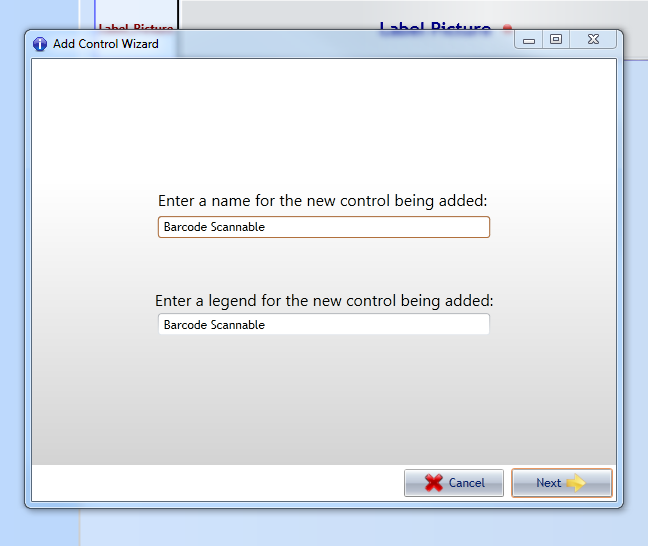
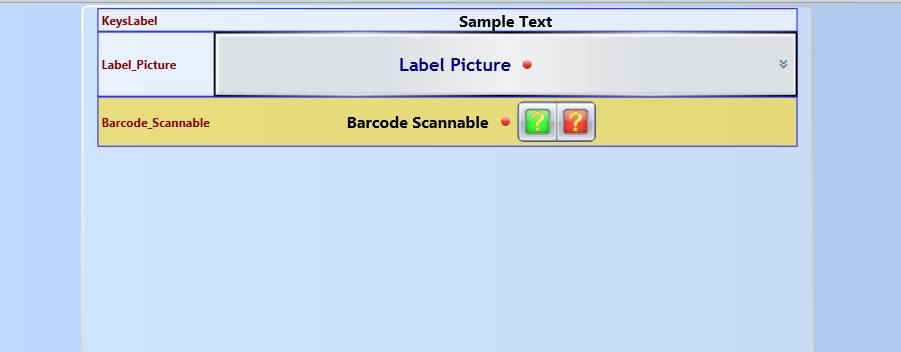
Drag a picture control from the control pallet onto the form. When the Add Control Wizard pops up, type "Label Picture" in the name field and click Next. Note the legend name is automatically generated for you.
Add some pass-fail controls
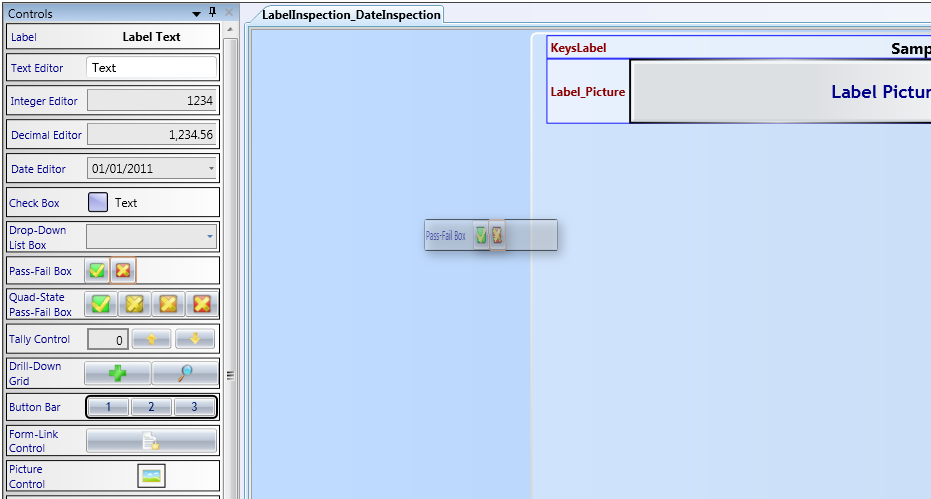
From the 'Controls' panel, click and drag a Pass-Fail Box control on to the designer surface.
This will initiate the add new control wizard. Give the control a name and click next.
The new pass-fail control will show up on the designer surface. Click the save button to commit the changes.
Add an optional comments field
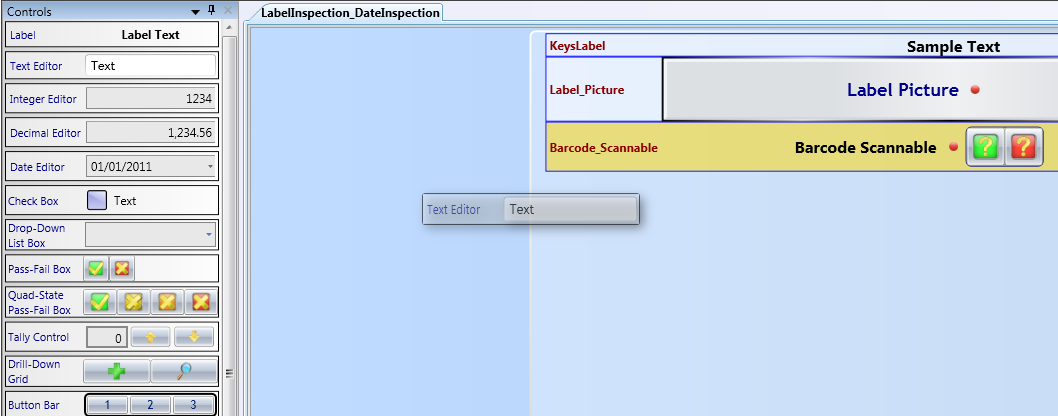
From the 'Controls' panel, click and drag a Text Editor control on to the designer surface.
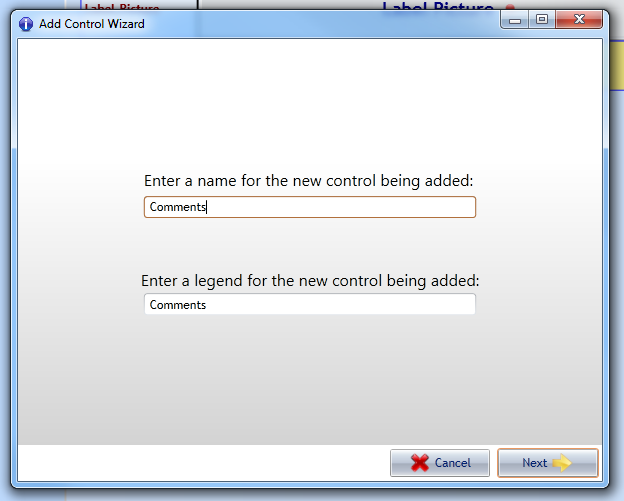
This will initiate the add new control wizard. Give the control a name and click next.
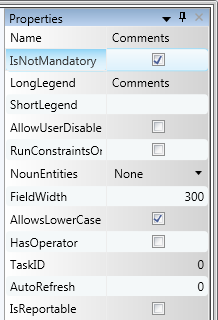
The new text control will now show up on the designer surface. Check the IsNotMandatory check-box in the Properties grid on the right. This will make it so that the control isn't required to be filled in.
The new comments field should show up now as a non-required field at the bottom of the form. Click the save button to commit the changes.
Link the forms together
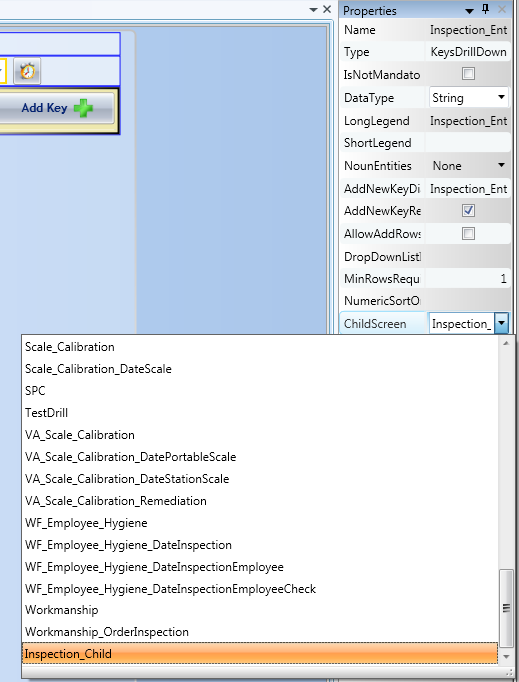
Now we need to connect the two forms. The first form we created, Test Example, is the parent form, the second form, Inspection_Child, is the child. The connection is made by going to the parent form, select the Drill-Down Grid. On the Right, go to the Property pane, and select the ChildScreen property. This drop down will show all available child screens. Select Inspection_Child from the list.
After setting theChildScreen property, the Forms Designer will display a popup and ask whether it should create all of the Navigation Event Handlers to bind the two windows together. Select <YES>. If you select <NO>, you will be required to create the Event Handlers yourself.
Open up the forms we created in the client
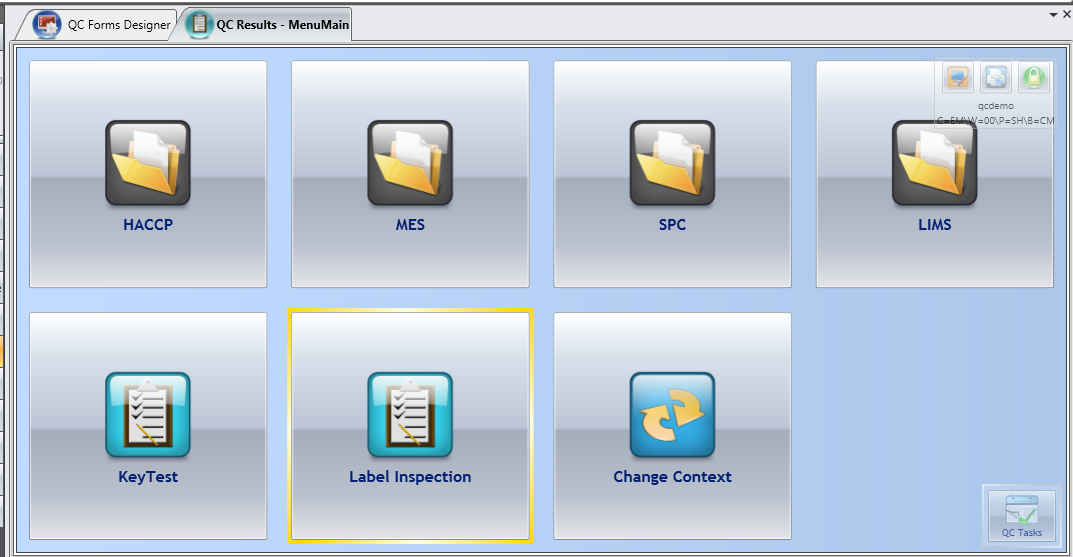
Launching into the QC Results Menu, select the newly created form from by clicking on it. Your new form should display and you can begin testing it for fit and function.
Return to QC Forms Designer.
