Credit Requests
Credit Request data collection and QC performance calculations.
Contents
- 1 Security
- 2 Launching the Credit Request Form
- 3 Main Form Window (Credit Request Summary)
- 4 Credit Request Detail Form
- 4.1 External User Form Details
- 4.1.1 Credit Request Detail - Billing Account field
- 4.1.2 Credit Request Detail - Shipping Account field
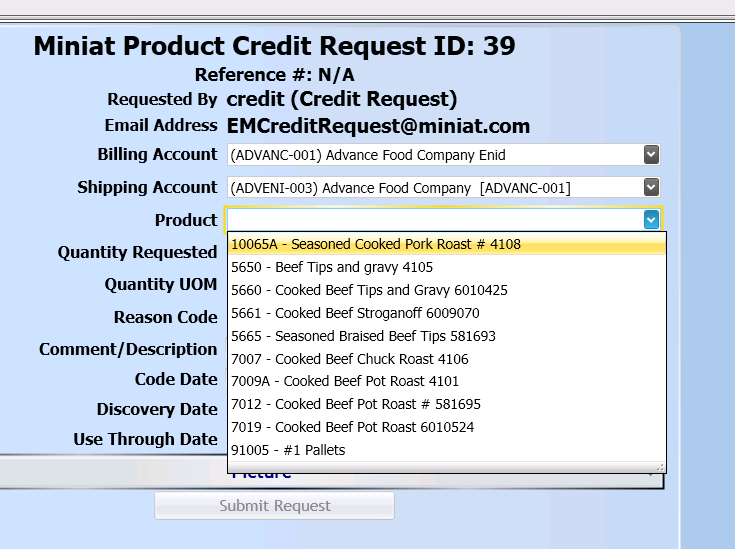
- 4.1.3 Credit Request Detail - Product field
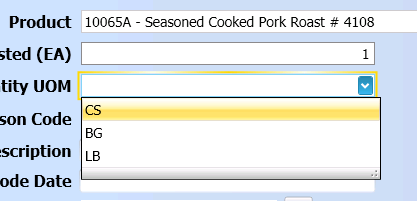
- 4.1.4 Credit Request Detail - Quantity Requested and Quantity UOM field
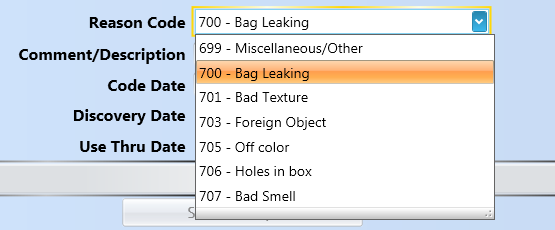
- 4.1.5 Credit Request Detail - Reason Code field
- 4.1.6 Credit Request Detail - Code Date field
- 4.1.7 Credit Request Detail - Date fields
- 4.1.8 Credit Request Detail - Add Picture button
- 4.1.9 Credit Request Detail - Submit Request button
- 4.2 Internal User Form Details
- 4.3 Close Button/Kiosk-Tablet mode
- 4.1 External User Form Details
- 5 Admin User
Security
All individuals using this form will need to have certain security privileges assigned to their user. To access the form, they will need privileges to Studio, and to QC Results.
- SD STUDIO ACCESS
- SD QC RESULTS
The following security privileges also need to be assigned, depending on the type of user:
- External User Access and Administration
- Privileges
- Product Credit Request Details
- Product Credit Request
- Entity Access
- These privileges will allow the external user to access the form, and view, update, and add new Credit Requests. They will not have access to the approval process.
- Privileges
- Internal User Access and Administration
- Privileges
- Product Credit Request Details
- Product Credit Request
- SD APPROVE CREDIT REQUESTS
- Entity Access
- These privileges will allow the internal user to access the form, and view, update, and add new Credit Requests. In addition, they are allowed to approve or deny Credit Requests.
- Privileges
Launching the Credit Request Form
This form is available through the Whistle Studio, or in kiosk mode.
Logon
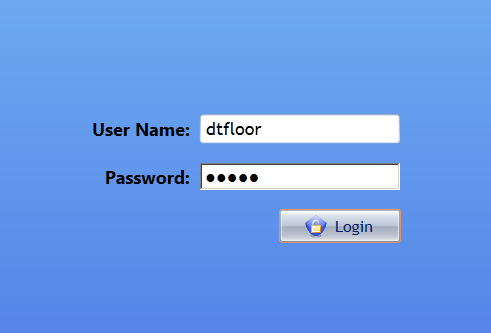
The logon screen for kiosk mode is presented at start-up. You must have a QC Results user name and password along with the appropriate access permissions to launch the application.
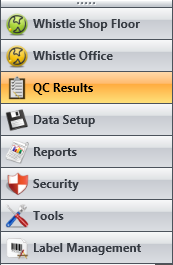
To use the screen through Studio, you first log onto Studio, then select QC Results on the Studio menu.
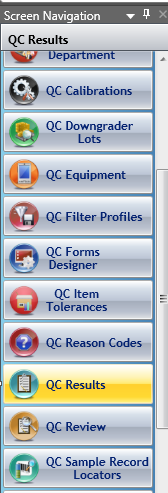
On the QC Result menu, select QC Results.
Make sure you are in the correct Projects. The Credit Request form is in the project Miniat_QC.
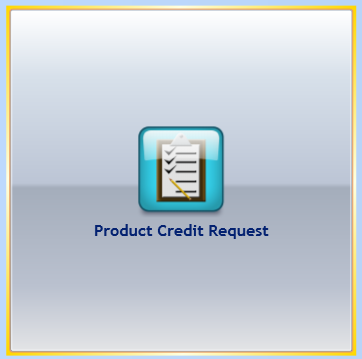
Select "Product Credit Request" from the menu.
Main Form Window (Credit Request Summary)
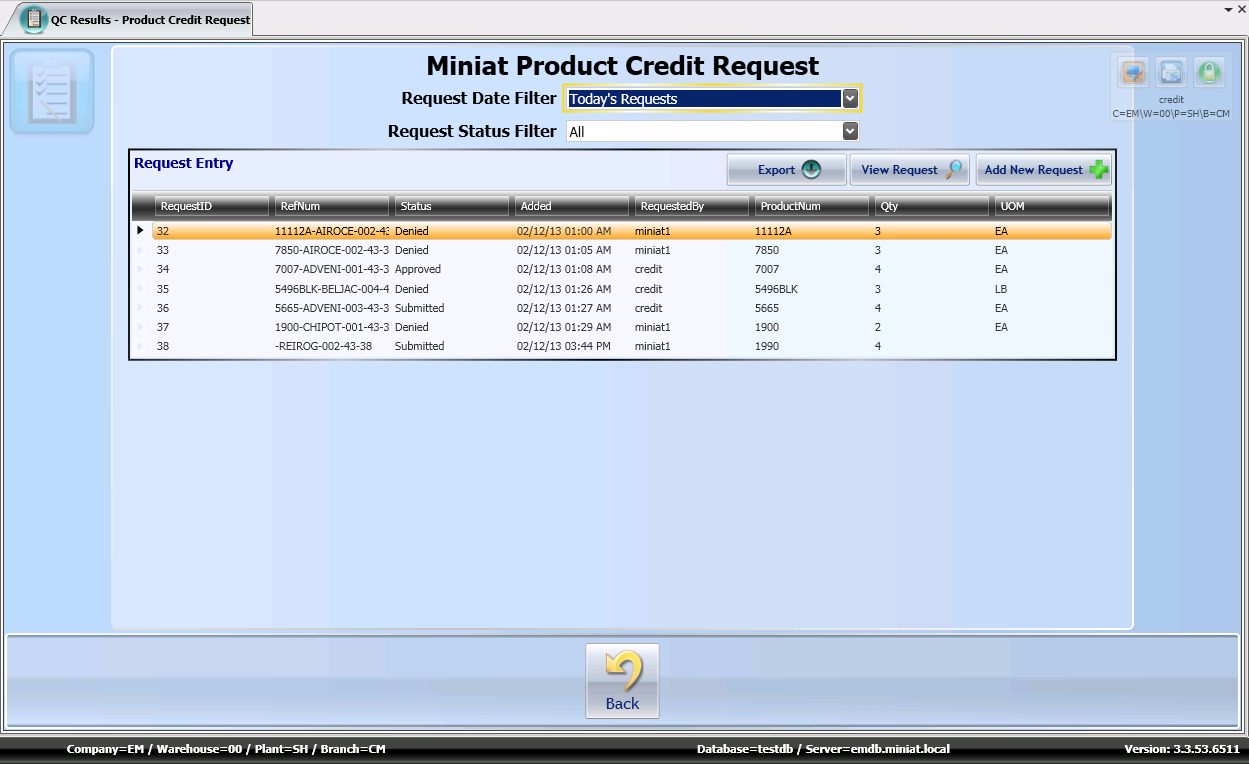
This is the main Credit Request Summary form. The form consists of a date filter, a status filter, and a grid displaying Credit Requests matching the filter criteria.
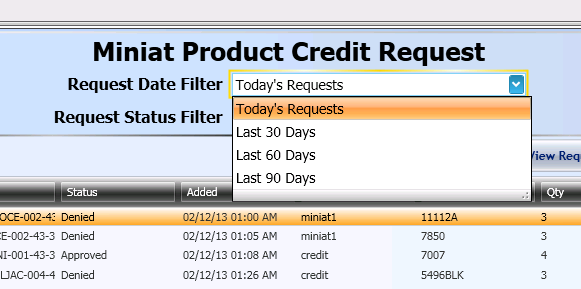
Date Field Filter
This drop-down filter allows the user to select the dates for which they would like to find Credit Requests to be displayed in the grid.
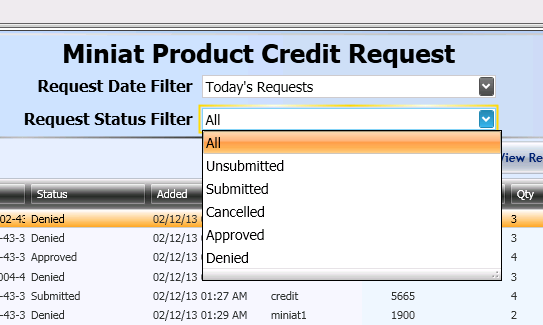
Status Field Filter
This drop-down filter allows the user to select which, or all, of the statuses they would like to find of the Credit Requests to be displayed in the grid.
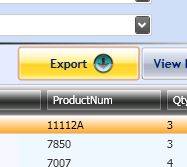
Credit Request - Export Button
This "Export" button will export the Credit Requests in the grid to an Excel file type on the user's computer.
Credit Request - View Request Button
This "View Request" button will launch the user into the existing detail form of the highlighted Credit Request in the grid.
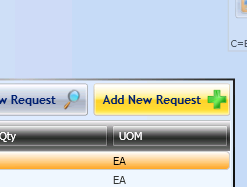
Credit Request - Add New Request Button
This "Add New Request" button will launch a Credit Request detail form to create a new credit request.
Credit Request Detail Form
External User Form Details
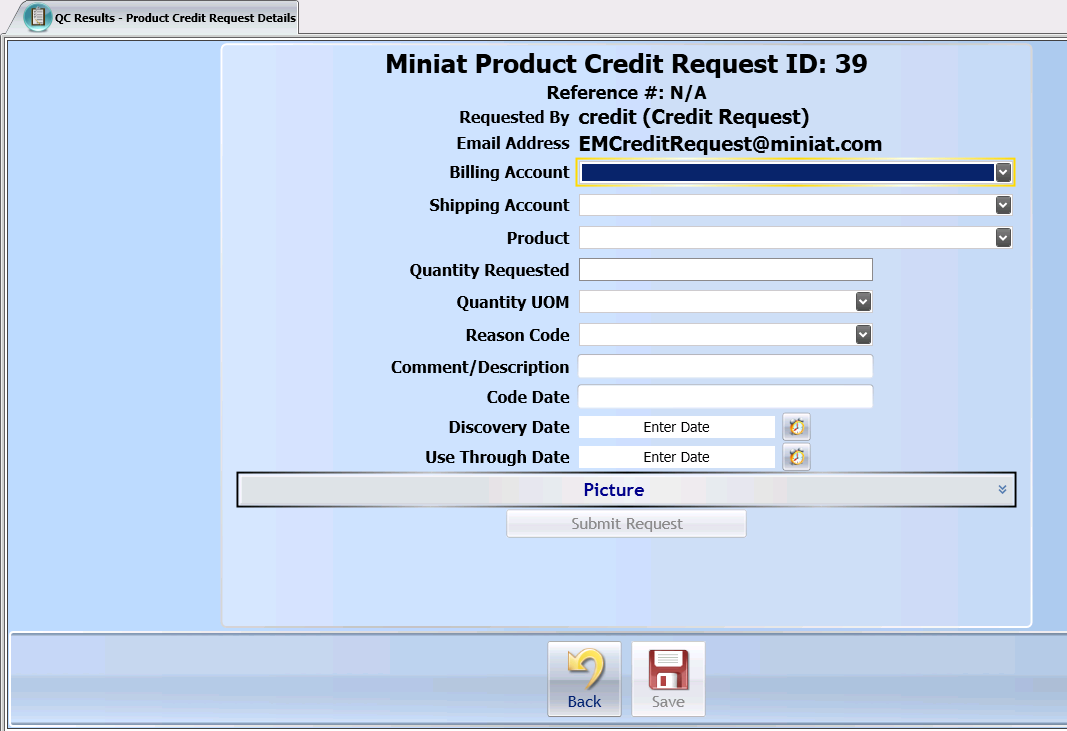
This is a blank Credit Request detail form that will be used to fill out the necessary information for creating a new request.
Credit Request Detail - Billing Account field
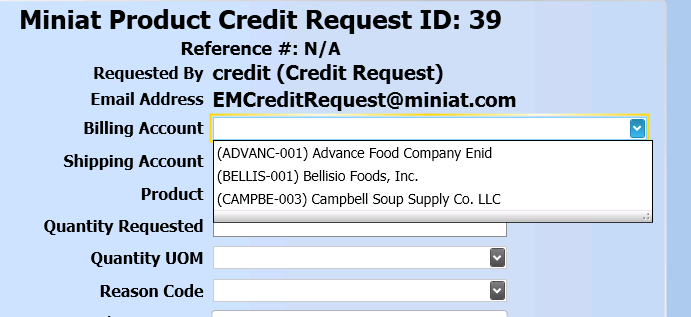
This drop-down field is used to select the appropriate Billing (Buyer) Account for the credit request.
Credit Request Detail - Shipping Account field
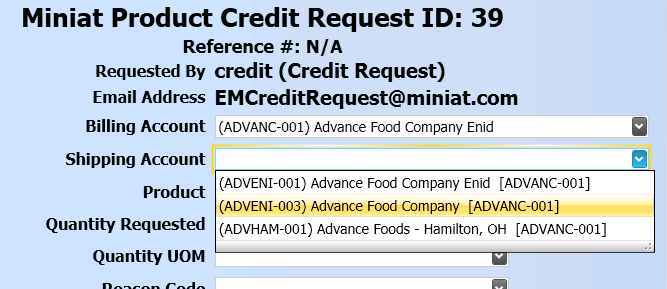
This drop-down field is used to select the appropriate Shipping (Delivery) Account for the credit request.
Credit Request Detail - Product field
This drop-down field is used to select the appropriate Product for the credit request.
Credit Request Detail - Quantity Requested and Quantity UOM field
The Quantity Requested field is used to enter the quantity of product being requested for credit. The Quantity UOM drop-down field is used to select the appropriate unit of measure for the quantity input above.
Credit Request Detail - Reason Code field
The Reason Code drop-down field is used to choose the reason for the product credit request. If OTHER or DAMAGE are chosen, the comment field and picture controls below become mandatory to document the reason for the request.
Credit Request Detail - Code Date field
The Code Date field is used to supply the Code Date of the product credit request.
Credit Request Detail - Date fields
The user must supply the Discovery Date - when the reason for the credit request was discovered. The user must also supply the Use Thru date - this date is found on the product packaging.
Credit Request Detail - Add Picture button
The Add Picture button is used to upload one or more picture files to be included in the credit request. These pictures should show the a representation of the Credit Request Reason selected above.
Credit Request Detail - Submit Request button
Once all relevant fields have been filled, the "Submit Request" button is activated and available for use. Clicking this button submits the product credit request to the system.
Internal User Form Details
These form controls will only be available to system users who will use them to approve or deny the product credit request.
Cancel Request
The "Cancel Request" button allows the user to cancel the request. The request will be given a status of Cancelled, and will become read-only, with no changes allowed.
Suggested Unit Price
The next fields give information regarding the Credit Request, with pricing information and the unit size coming from records in the ERP system for the selected product.
Suggested Credit Amount
The next line shows the suggested credit amount, based on the price and the quantity entered in the form.
Approve or Deny
The user is then allowed to Approve or Deny the Credit Request.
If they approve, they will then be able to enter the amount of the credit.
If they deny the request, they must then enter a comment for the denial.
Process the Request
After the request has been approved or denied, a "Process" button becomes available in the button bar.
Pressing this will process the Credit Request. Once the form has been processed, it is locked, and no further changes are allowed to be made. The user will then be returned to the main form.
Close Button/Kiosk-Tablet mode
When you are finished with the Credit Request form, you can close the kiosk mode by the power off button in the top right corner. If you are using the form in the Studio, you can press the "Back" button to return to the previous menu.
Admin User
Maintenance User
User Creation by Invitation
Permission Needed : Miniat_QC AccountCreation
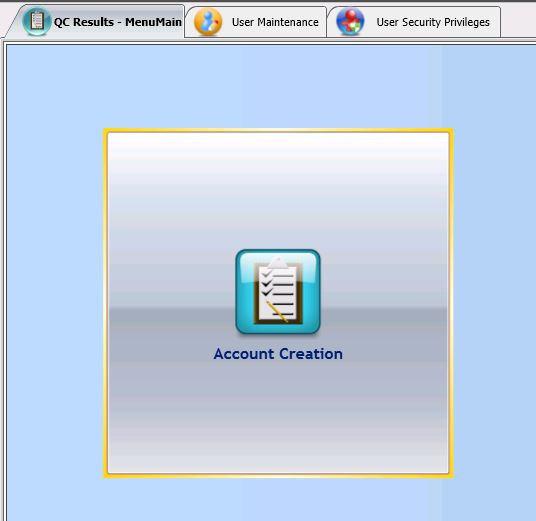
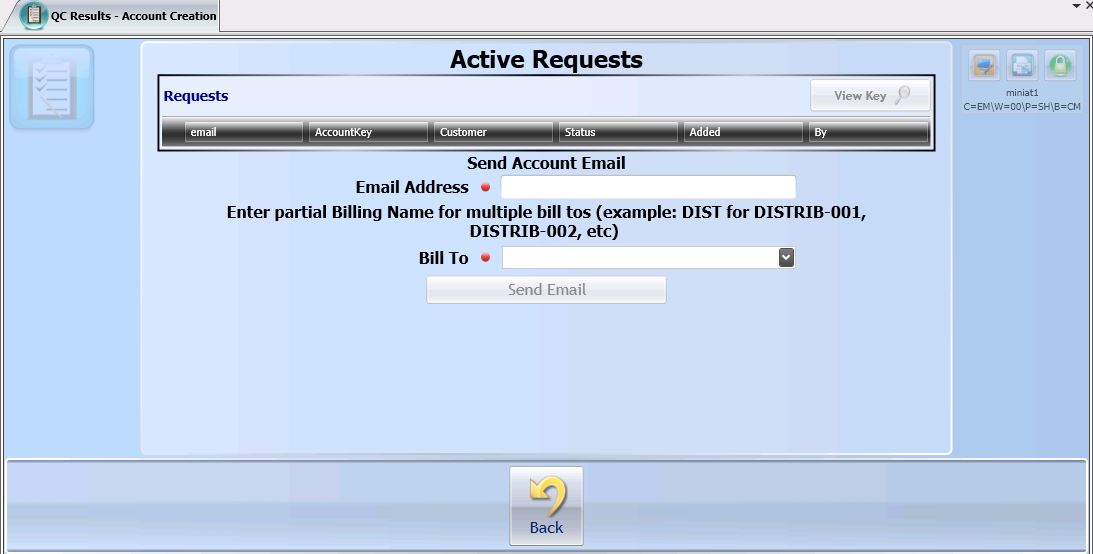
Select the Account Creation Form from the QC Results Menu.
Outstanding requests are displayed in the Active Requests Grid.
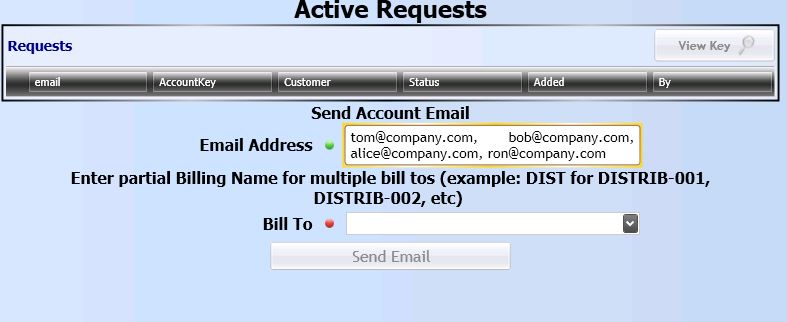
To create new requests, enter a list of comma separated email addresses for each D/C (Bill-To).
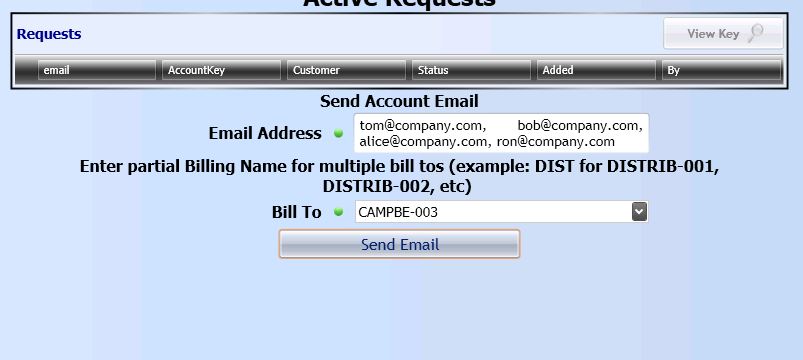
Now enter the appropriate Bill-To filter/mask.
Example: You want to send invitations to all of the ConAgra D/C's. Enter CONAGR in the field. Each Bill-To starting with CONAGR will be available to the invitee to choose from.
You can also select a specific Bill-To if you wish from the drop-down list but this limits the invitations to the single Bill-To selected.
Click the Send-Mail button to send the invitations. Emails with special web-links are sent to the invitees. They will use these links to fill out their account request for later approval.
Individual User Creation
You will need to enter information regarding the entities allowed to access the Credit Report. Users are added in User Maintenance, and the billing information is in User Billing Keys.
User Maintenance
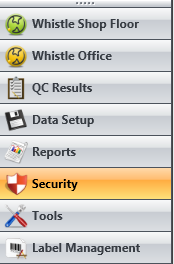
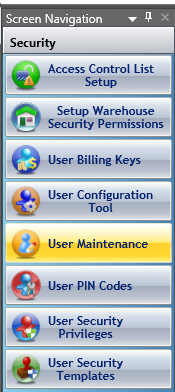
From the Studio menu, select Security. This will bring up the Security menu.
From the Security menu, select User Maintenance. This will bring up the User Maintenance screen. Use this screen to add new users, or change the information on existing users.
Certain fields are required, and will be filled in when a new row is started. You can leave the default values in those fields. You will need to enter the User ID, Full Name, and Password.
For more information on using the Studio maintenance screens, see the Table Maintenances section.
User Billing Keys
User Billing Keys is used for assigning billing keys to users in the system for use with the Credit Requests screen. This screen also allows you to give the selected user access to the Credit Requests screens, or to remove the access from the user.
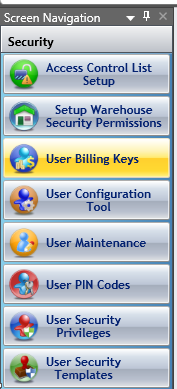
To get to the User Billing Keys screen, select Security from the Studio menu to bring up the Security menu items.
Select User Billing Keys.
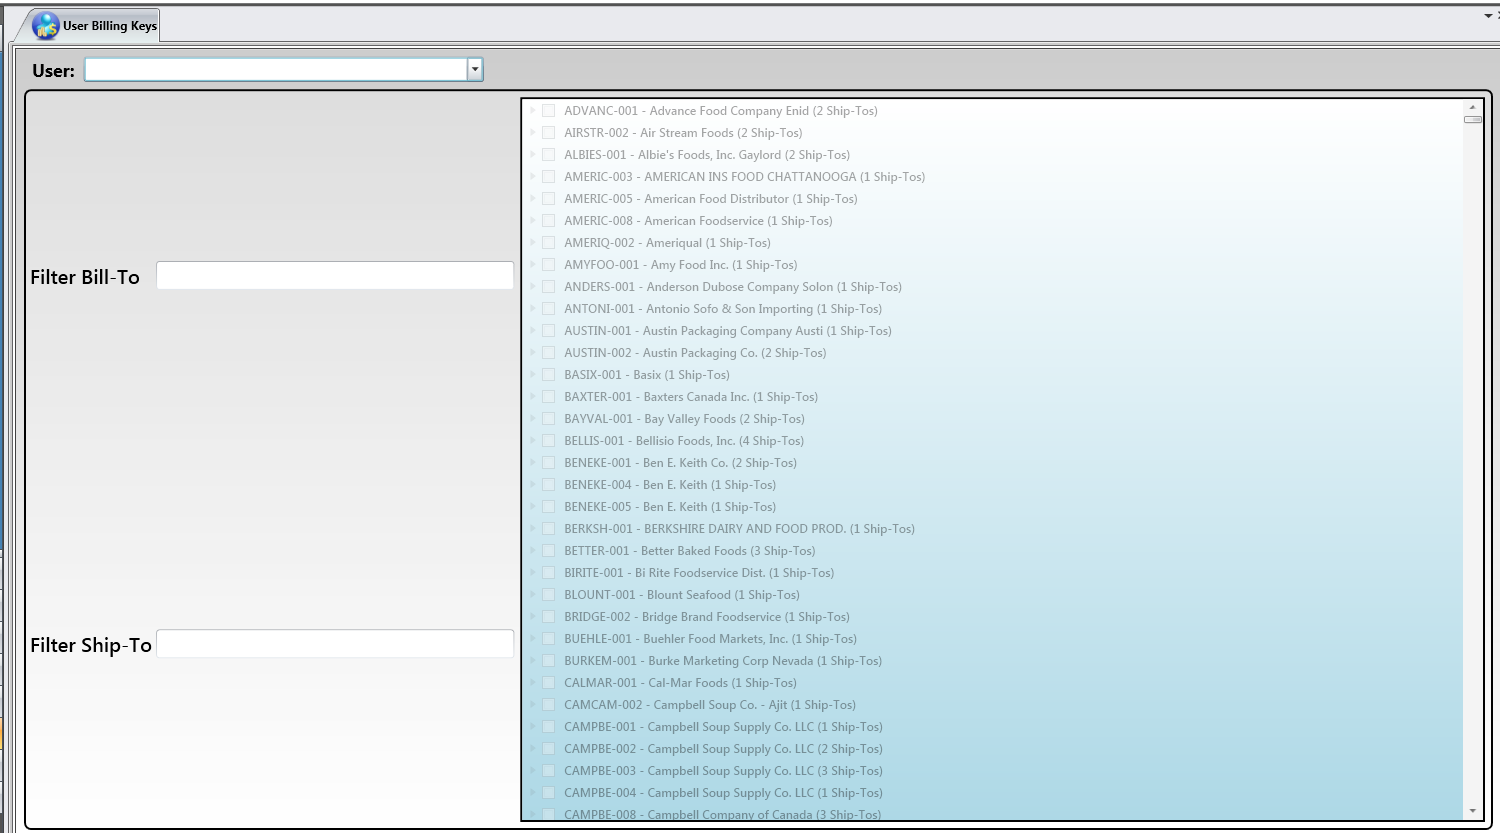
You will now see the User Billing Keys maintenance screen. This screen contains a drop-down control with all available users listed in it, a list control showing the available Ship-To entities and Bill-To entities, and two filter fields to use to limit the display of Ship-To's or Bill-To's, to make it easier to find a specific entity.
Select a user from the drop-down. The list of Ship- and Bill-To's will now show check marks for the previously selected entities.
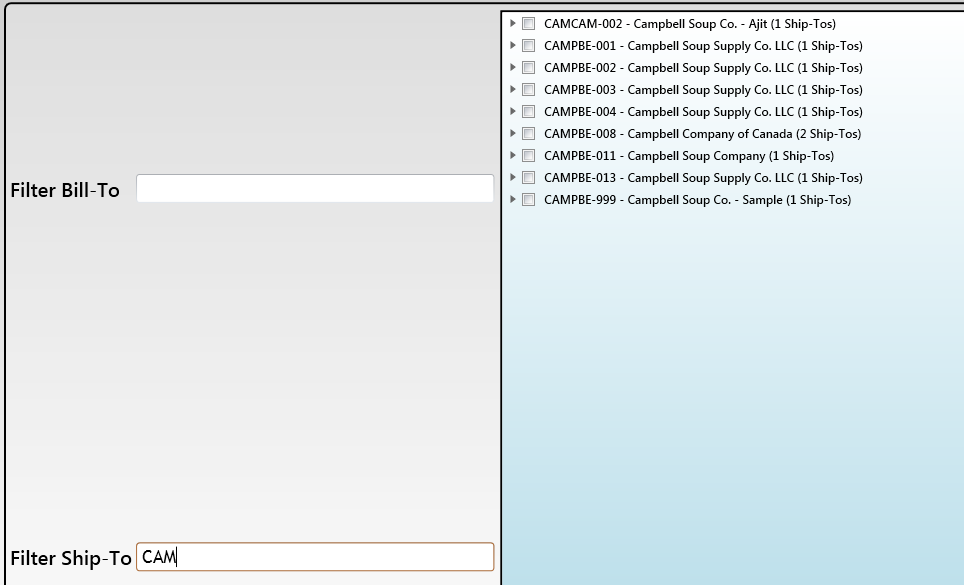
To use a filter, just start entering the letters you want to filter with. Warning, this is case-sensitive! As you enter, the list will be limited using the values you are entering. In the example shown, CAM has been entered in the Ship-To filter, and only Ship-To's staring with these letters are displayed in the list.
As mentioned, you are also able to add or remove permissions to access the Credit Request form to the user selected in the drop-down. These buttons are located in the upper left hand corner of the screen.
Return to Scorecard/KPI

