GX:Studio:Whistle Transaction Manager
Contents
Introduction
The Whistle Transaction Manger tool is used for viewing and managing Whistle transactions. This includes but isn't limited to backflush and Whistle GX transactions. Transactions flow through what are known as "database queues". Once a transaction is posted to the "Main" database queue, the resident Whistle Server will pick it up and attempt to process it. If the transaction is successful, it gets moved to the "Done" queue. Unsuccessful transactions are moved to the "Error" queue.
Accessing the Screen
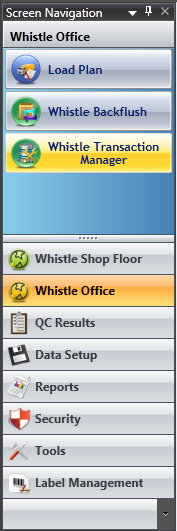
To access the screen, the user you are using will need to posses the "SD WHISTLE TRX MGR" and "SD STUDIO ACCESS" permissions. If these permissions are present in your user's profile, the screen button will appear under the "Whistle Office" Studio tab on the left. If the Whistle Transaction Manager button is pressed, the tool will load.
Using the Tool
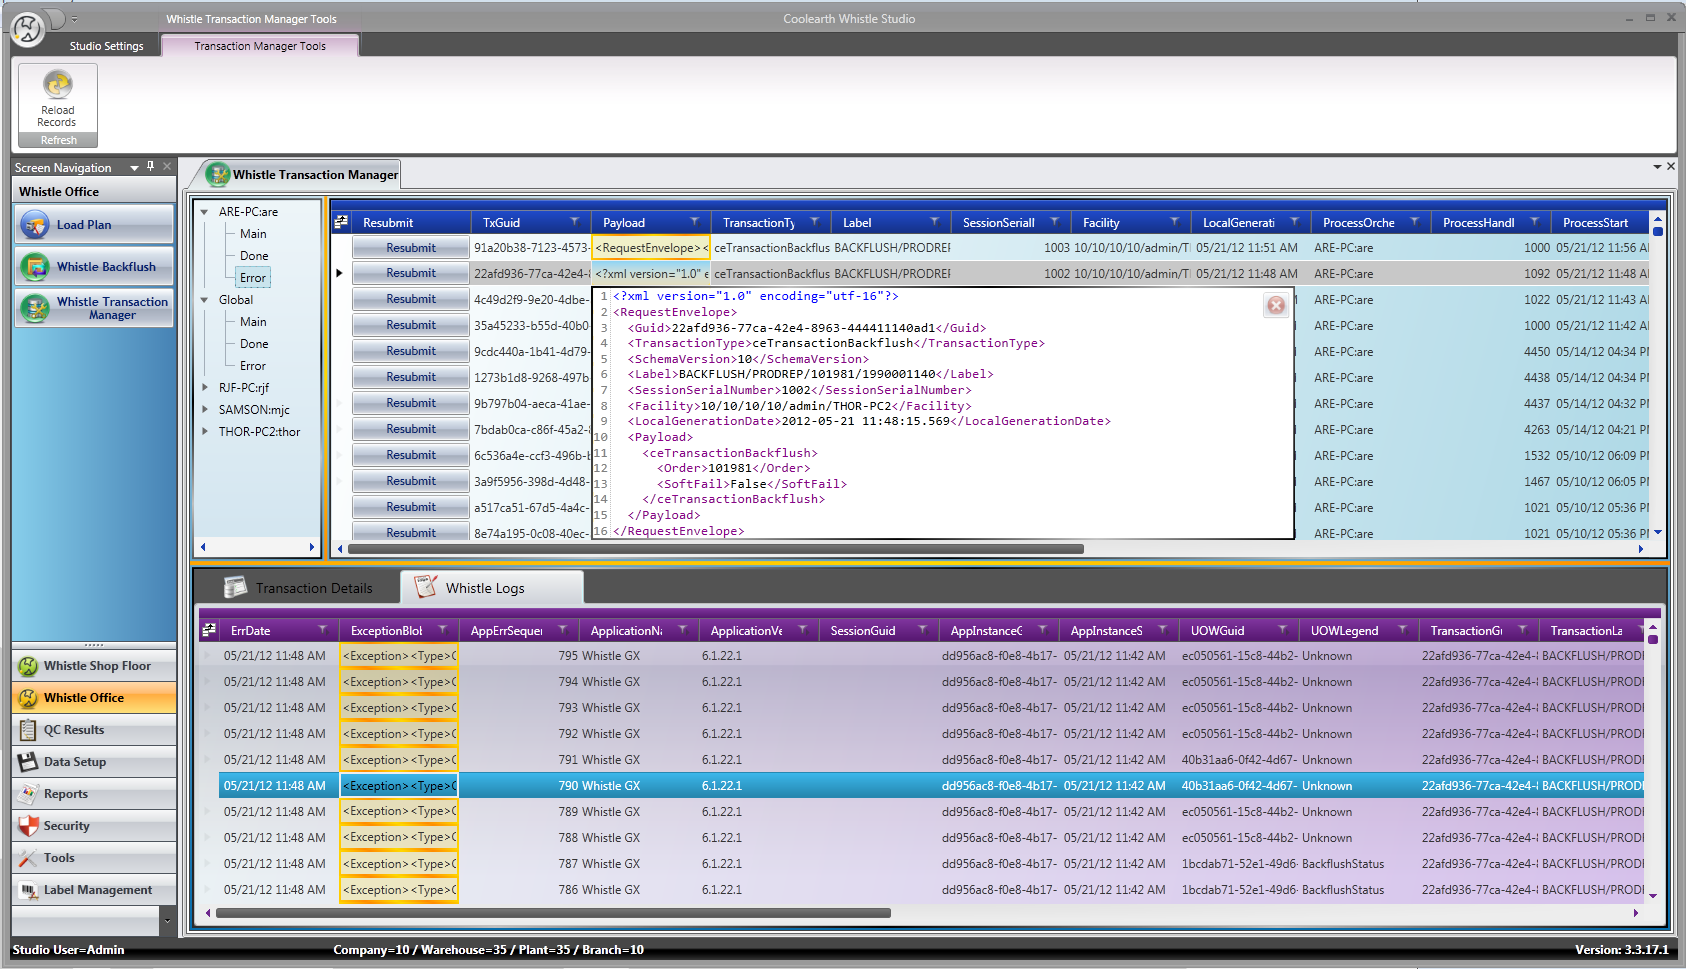
The tool is broken up into three different UI sections: Queue Selection, Queue Transactions Entries and the Queue Transaction Entry Details.
Queue Selection
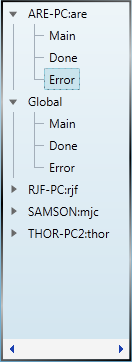
The queue selection data tree is used to display the list of database queues in the present in the system, and to select an active queue for which to view transaction entries.
Each queue owner listed contains the three queues mentioned above which transactions move between: Main, Done and Error. To view transaction entries listed for any of these queues, first expand the transaction owner node by clicking the small triangle to the left of the owner name. Then click on either Main, Done or Error to begin loading the transaction entries for the selected queue.
Queue Transactions Entries
The transaction entries data grid contains the list of Whistle transactions for the selected queue.
The list of transactions is ordered by transaction generation date(LocalGenerationDate column). The grid scroll bars can be used to view the entire contents of the grid if necessary. Similar to other data grids found in Coolearth Studio, the transaction entry grid supports a wide array features such as column filtering, sorting, resizing, reordering and grouping. Additionally the column chooser dialog can be accessed by clicking the small icon in the top left corner. This will bring up the column chooser dialog which allows customization over which columns are displayed.
Resubmitting Transactions
In certain rare cases, it may be desirable to resubmit a transaction that has fallen into the Error queue. To resubmit a transaction, simply click the button. Note that the
button. Note that the
button will only appear for transactions that are in the Error queue. In some cases it may be necessary to first edit the XML payload of a transaction before resubmitting it. This is explained in the next section.
XML Grid Cells
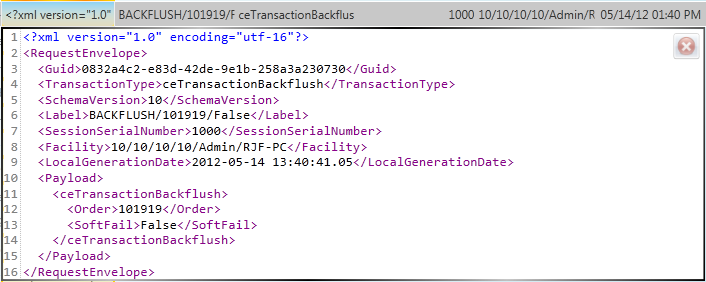
Certain columns in the transaction entries grid and the log entries grid contain cells with XML data. These are represented as grid cells with a gold border and background.
To view the XML contained within, click the cell and an XML cell adorner will appear.


