Difference between revisions of "GX:Allocate Customers Window"
From coolearthwiki
| Line 10: | Line 10: | ||
[[Image:AllocCust3.gif|500px|Image:AllocCust3.gif|500px]] | [[Image:AllocCust3.gif|500px|Image:AllocCust3.gif|500px]] | ||
| + | |||
| + | After entering the Track number, the focus will be on the "<Allocate>" button. Press "<Enter>" to reserve this pallet for the selected customer. If the transaction is successful, a message will appear. | ||
[[Image:AllocCust4.gif|500px|Image:AllocCust4.gif|500px]] | [[Image:AllocCust4.gif|500px|Image:AllocCust4.gif|500px]] | ||
| + | |||
| + | |||
[[Image:AllocCust5.gif|500px|Image:AllocCust5.gif|500px]] | [[Image:AllocCust5.gif|500px|Image:AllocCust5.gif|500px]] | ||
Revision as of 18:24, 18 October 2006
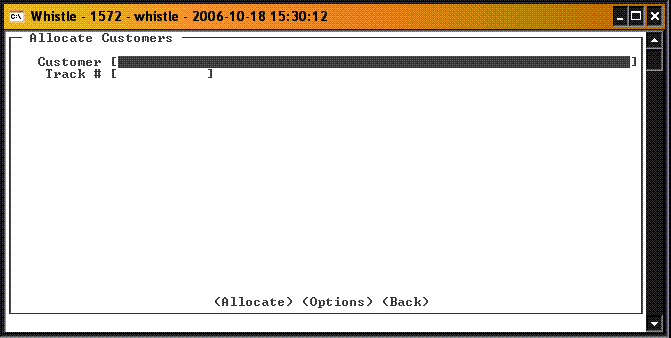
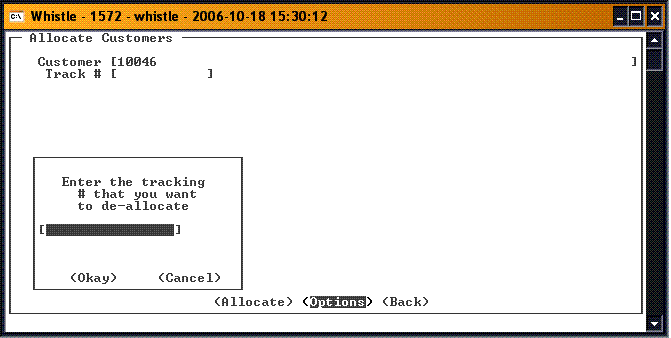
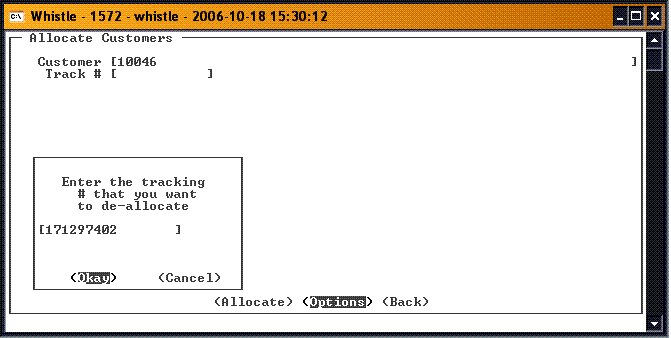
This window is used to assign a pallet to a particular customer.
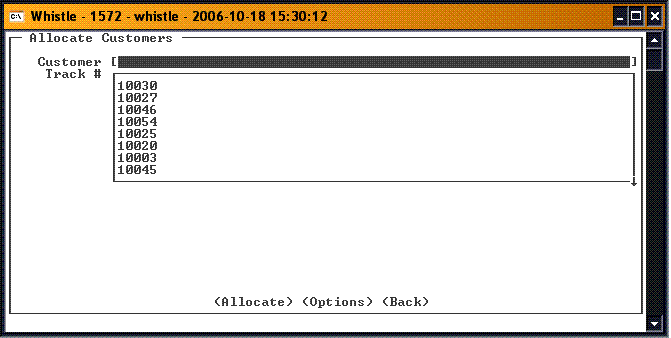
Select a Customer number from the drop down in the Customer field, or enter the number manually.
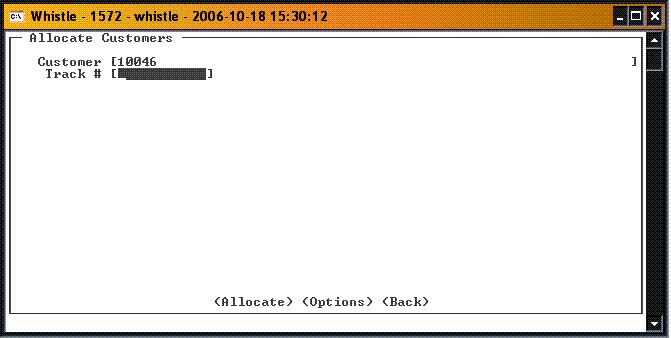
Enter the Track number of the pallet you wish to reserve for this customer. If you do not know the Track number, you can press Ctrl-A, the list function, to access the Find Inventory window.
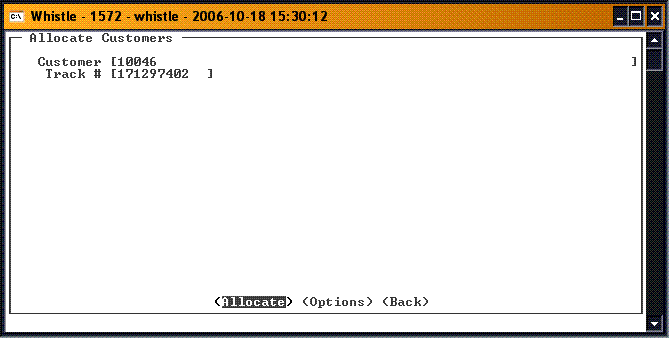
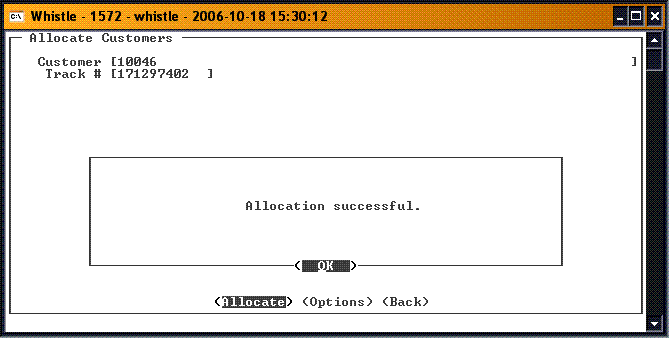
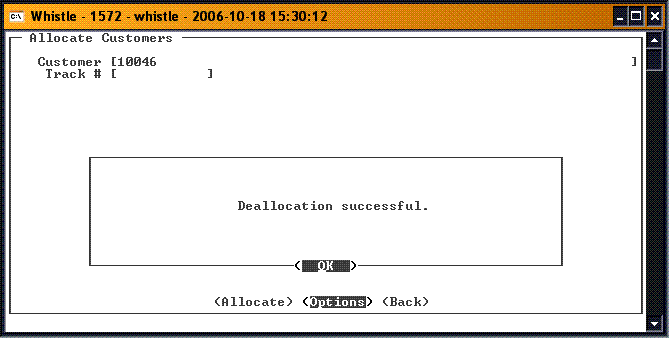
After entering the Track number, the focus will be on the "<Allocate>" button. Press "<Enter>" to reserve this pallet for the selected customer. If the transaction is successful, a message will appear.
