Difference between revisions of "GX:Palletize Cases Window"
From coolearthwiki
| (2 intermediate revisions by the same user not shown) | |||
| Line 17: | Line 17: | ||
| − | [[Image: | + | [[Image:PalCase4.gif|500px|Image:PalCase4.gif|500px]] |
| Line 23: | Line 23: | ||
| − | [[Image: | + | [[Image:PalCase3.gif|500px|Image:PalCase3.gif|500px]] |
| + | |||
| + | |||
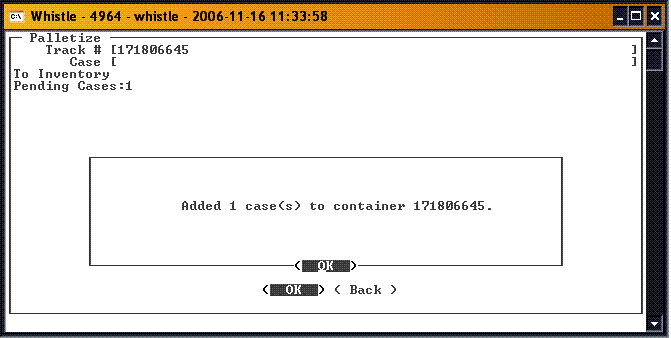
| + | When you have finished adding cases, press the '<OK>' button. A message will display with the results of the transaction. | ||
| − | |||
[[Image:PalCase5.gif|500px|Image:PalCase5.gif|500px]] | [[Image:PalCase5.gif|500px|Image:PalCase5.gif|500px]] | ||
| + | |||
| + | |||
| + | ==[[GX:Palletize Cases Window Settings|Palletize Cases Window Settings]]== | ||
Latest revision as of 15:01, 16 November 2006
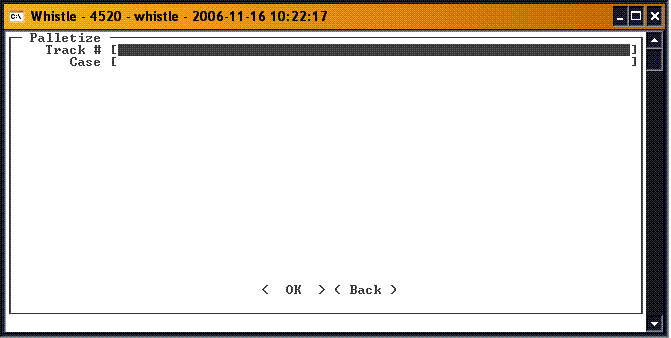
This window is used to assign allocated or reserved cases to a pallet.
To Palletize a Case
Select Palletize Cases from the Production menu.
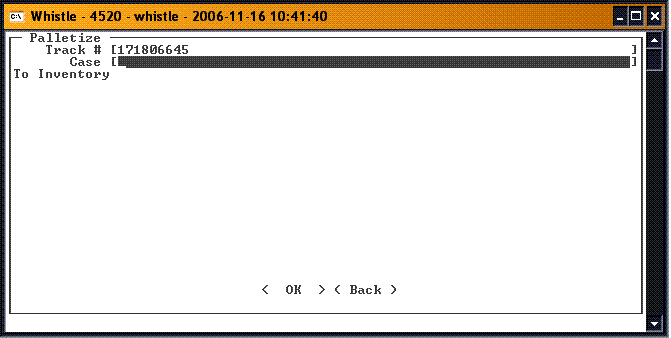
Scan or enter the container tracking number in the Track # field. You may also use Ctrl-A to begin an inventory-query based on the Find Inventory window to find a particular pallet. When you tab or scroll down out of the field, the tracking number will fill the field, and focus will move to the Case field.
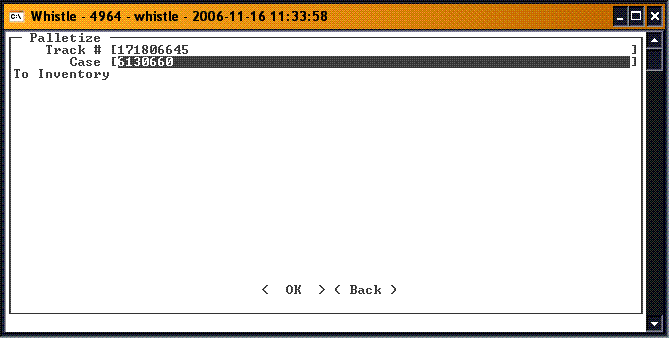
Enter a case number in the Case field.
- Note
- This case must have already been allocated to the same order as the pallet, or be reserved for the same customer.
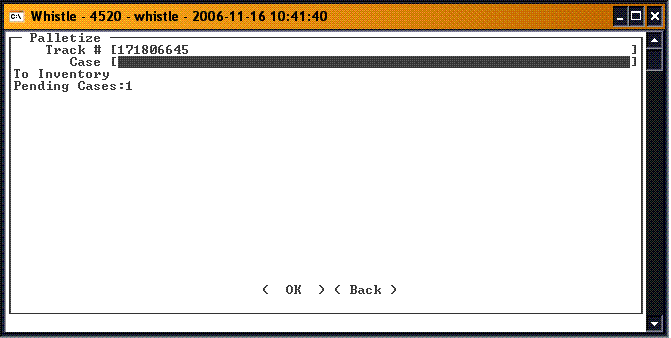
A running total of cases added to the pallet will be displayed.
When you have finished adding cases, press the '<OK>' button. A message will display with the results of the transaction.
