Difference between revisions of "GX:Print CS Label Window"
| Line 3: | Line 3: | ||
[[Image:CaseLabel1.gif|500px|Image:CaseLabel1.gif|500px]] | [[Image:CaseLabel1.gif|500px|Image:CaseLabel1.gif|500px]] | ||
| − | Enter the tracking number of an existing pallet in the '''Track #''' field. | + | Enter the tracking number of an existing pallet in the '''Track #''' field. Whistle will automatically find and display the details of the items on that pallet. |
[[Image:CaseLabel2.gif|500px|Image:CaseLabel2.gif|500px]] | [[Image:CaseLabel2.gif|500px|Image:CaseLabel2.gif|500px]] | ||
Latest revision as of 17:21, 25 June 2006
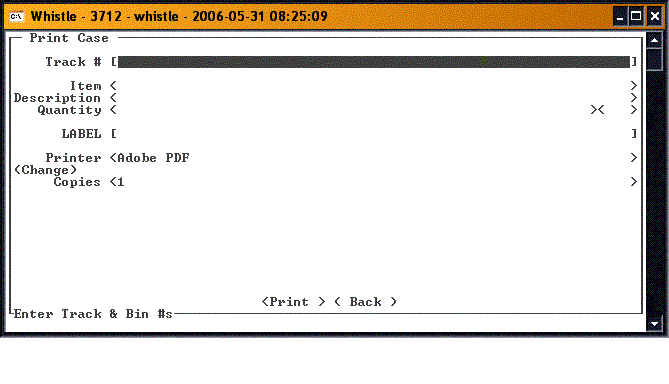
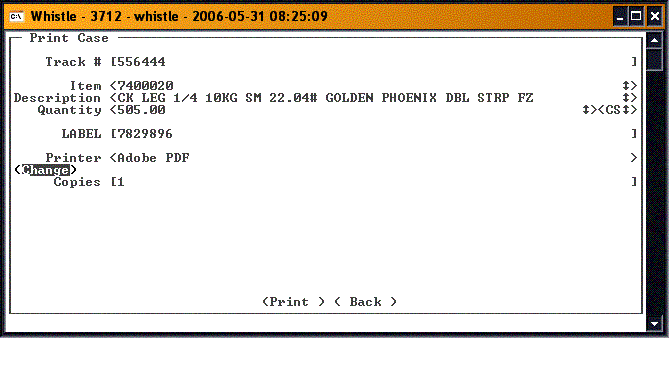
This screen is used to print individual case label tags.
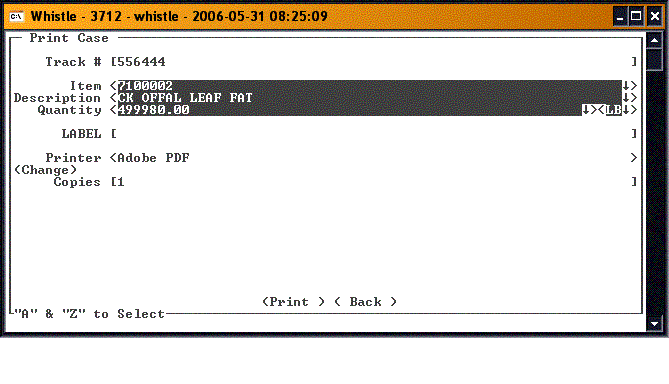
Enter the tracking number of an existing pallet in the Track # field. Whistle will automatically find and display the details of the items on that pallet.
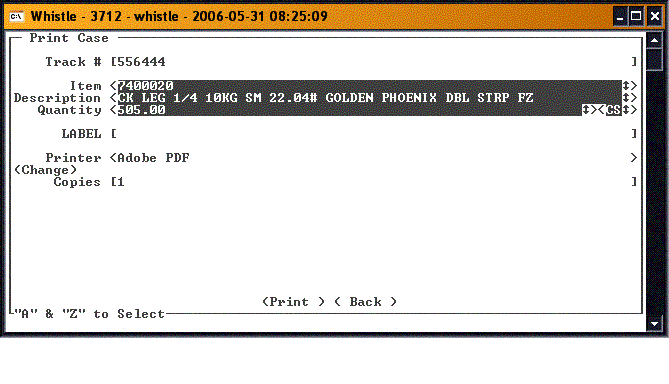
Choose an item from the item fields using the "A-Z" keys, if needed.
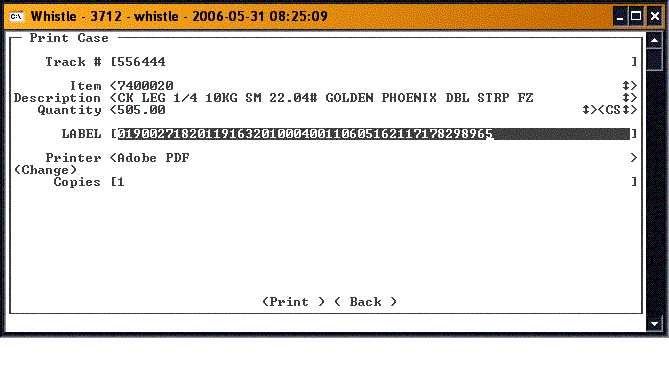
Into the LABEL field goes the case ID for which the label is to be printed. You can either enter just the case number, or scan the label, and the case number will be parsed out, and entered into the field.
If you wish to change the printer to use to print the case labels, highlight the "<Change>" button and press "Enter". You will be taken to the Printer Window. See that section of the user guide for details.
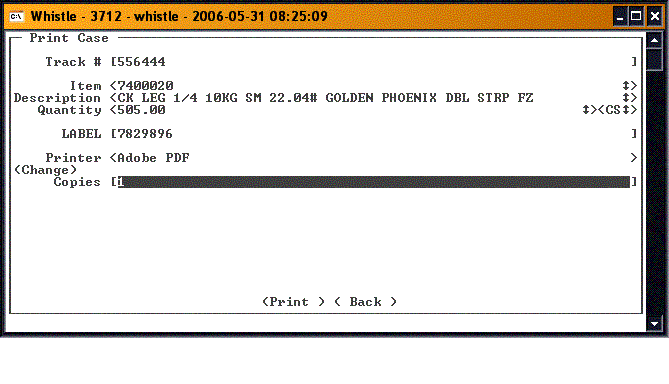
Set the number of Copies to be printed.
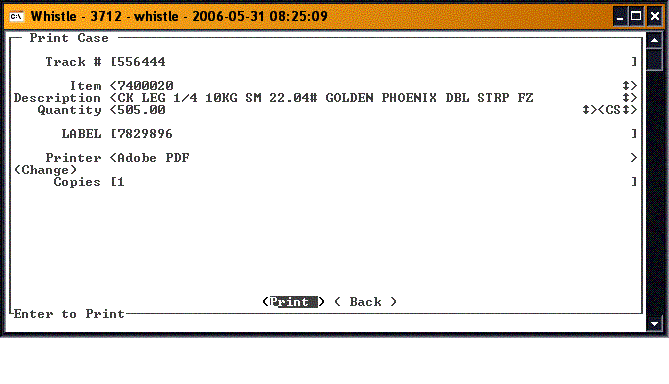
Tab or use the arrow keys to highlight the "<Print>" button and press "Enter" when you are ready to print.
When you have finished printing case labels, highlight the "<Back>" button and press "Enter", or press "Esc" to return to the Labels menu.
