Difference between revisions of "GX:Case Move"
| Line 29: | Line 29: | ||
A “Print” checkbox and “Copies” field are available so the user may specify whether new print tags are required and how many copies are preferred. | A “Print” checkbox and “Copies” field are available so the user may specify whether new print tags are required and how many copies are preferred. | ||
| − | Select <OK> to commit your transaction and transfer the cases from one container to another. | + | Select <OK> to commit the your transaction and transfer the cases from one container to another. |
==[[GX:Case Move Window Settings|Case Move Window Settings]]== | ==[[GX:Case Move Window Settings|Case Move Window Settings]]== | ||
Revision as of 11:33, 24 May 2006
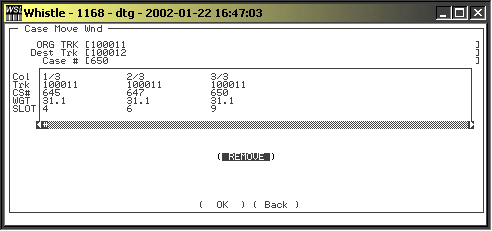
The case move screen is used for transferring a catchweighted case from one container to another.
To Move a Case
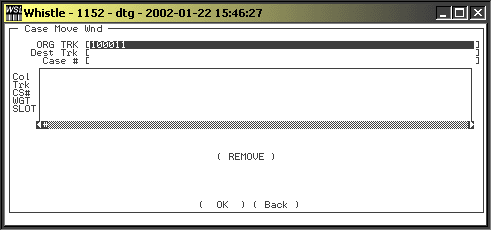
Enter the Tracking Number of the Container from which you would like to move a case.
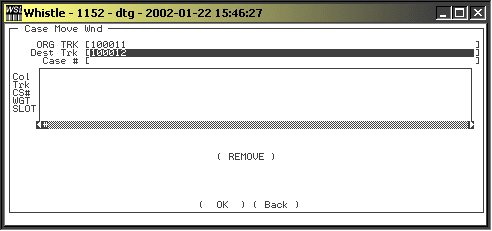
Enter the Tracking Number of the Container that you would like to move a case to.
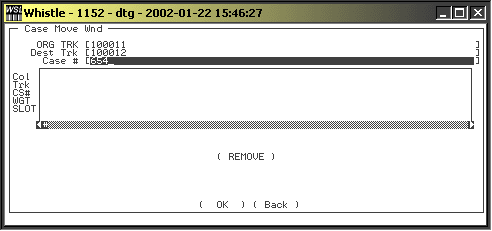
Enter the Case Number that you would like to move. If you do not know the case number, pressing Ctrl-A while in the case number field will bring up a list of cases on the source pallet. Select the case to be moved using the arrow keys, and press <Enter>.
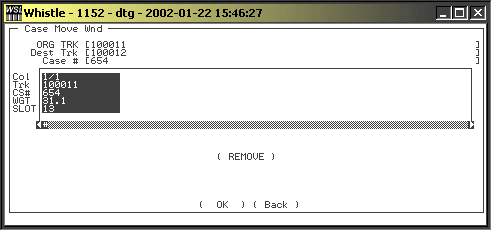
Scroll the cursor out of the Case # field. The case information will be loaded into the horizontal case move screen.
You may continue adding case #s to your list by entering new case numbers in the Case # field, or selecting them from the list.
Removing a case
If you have selected a case in error, and wish to remove it from the list of cases to be moved, select it using the arrow keys. When the case is highlighted, select <REMOVE>.
A “Print” checkbox and “Copies” field are available so the user may specify whether new print tags are required and how many copies are preferred.
Select <OK> to commit the your transaction and transfer the cases from one container to another.
