Difference between revisions of "36:Cycle Count"
(→To Count Items) |
|||
| (23 intermediate revisions by 3 users not shown) | |||
| Line 1: | Line 1: | ||
| − | The second option on the Inventory menu is the | + | The second option on the Inventory menu is the '''Cycle Count''' function. Cycle Count is a means of keeping track of inventory by consistently counting different subsets of the entire inventory. Cycle Counts are performed by Inventory Control Personnel as a way of maintaining an accurate inventory count. |
| + | ==To perform a cycle count:== | ||
| + | Select '''Cycle Count''' from the Inventory Menu. Either highlight your desired choice and press "<Enter>" or simply type in the appropriate menu number. | ||
| − | + | ==To Count Items== | |
| − | + | Enter the '''Count Sheet''' that you would like to use. This field is only available when the Read Whistle Count Sheets window setting is turned on. | |
| − | + | ||
| + | [[Image:CycleCount1.gif|500px|Image:CycleCount1.gif|500px]] | ||
| − | + | Enter the '''Bin #''' that you would like to count. A list of uncounted bins is displayed when the cursor is in the Bin Field. | |
| − | + | [[Image:CycleCount2.gif|500px|Image:CycleCount2.gif|500px]] | |
| − | + | ||
| − | + | ||
| + | Enter the '''Tracking #''' that you would like to count. A list of uncounted tracking numbers in the current bin will be displayed. | ||
| + | [[Image:CycleCount3.gif|500px|Image:CycleCount3.gif|500px]] | ||
| + | Enter the quantity of the particular item that is on the container in the '''New Qty''' field. Remember to enter the quantity in terms of the UOMs displayed. You can also press Ctrl-S to enter the weight information in the [[36:Scale Window|Scale Window]]. | ||
| + | [[Image:CycleCount4.gif|500px|Image:CycleCount4.gif|500px]] | ||
| + | Select "<Record>" to record the container’s count. | ||
| + | [[Image:CycleCount5.gif|500px|Image:CycleCount5.gif|500px]] | ||
| − | + | Select "<Bin Done>" to finish counting the Bin. Remember that all uncounted containers will be recorded as 0 (zero). | |
| − | + | ||
| + | Select "<Back>" to return to the Cycle Counting main screen. | ||
| + | ==Options menu== | ||
| + | To see the selections, highlight the "<Options>" button, and press "Enter". | ||
| + | [[Image:CycleCount6.gif|500px|Image:CycleCount6.gif|500px]] | ||
| + | ===Complete Count=== | ||
| + | Select "<Options>" and then "Complete Count" to finish the count. | ||
| − | + | [[Image:CycleCount7.gif|500px|Image:CycleCount7.gif|500px]] | |
| + | If you are ready to complete this count, press "Enter". | ||
| + | ===Create Count=== | ||
| + | Select "<Options>" and then "Create Count" to create a new count. | ||
| + | The next available count number will automatically fill in the '''Count''' field. | ||
| + | [[Image:CycleCount8.gif|500px|Image:CycleCount8.gif|500px]] | ||
| + | You will see a dropdown list of the count zones. Select the zone you want to include on this count. | ||
| + | [[Image:CycleCount9.gif|500px|Image:CycleCount9.gif|500px]] | ||
| + | Press "Enter" to continue. | ||
| + | [[Image:CycleCount10.gif|500px|Image:CycleCount10.gif|500px]] | ||
| + | When the Count has been built, a message will display: | ||
| + | [[Image:CycleCount12.gif|500px|Image:CycleCount12.gif|500px]] | ||
| − | Enter | + | Press "Enter" to continue. |
| + | ===Build Inventory=== | ||
| + | Select "<Build Inventory>" to create new pallets. | ||
| + | [[Image:CycleCount12.gif|500px|Image:CycleCount12.gif|500px]] | ||
| + | This is the same screen as used to build pallets from inventory, *[[36:Inventory to Pallet Transfer|Inventory to Pallet Transfer]]. See that section of the user guide for details. | ||
| − | |||
| − | |||
| − | |||
| − | |||
| − | |||
| − | |||
| − | |||
| + | Select the "<Back>" button or press "ESC" to exit back to the main Cycle Count screen. | ||
| − | + | ==[[36:Cycle Count Window Settings|Cycle Count Window Settings]]== | |
| − | + | ||
| − | + | ||
| − | + | ||
| − | + | ||
| − | == | + | |
| − | + | ||
| − | + | ||
| − | + | ||
| − | + | ||
| − | + | ||
| − | + | ||
| − | + | ||
| − | + | ||
| − | + | ||
| − | + | ||
Latest revision as of 11:05, 18 October 2006
The second option on the Inventory menu is the Cycle Count function. Cycle Count is a means of keeping track of inventory by consistently counting different subsets of the entire inventory. Cycle Counts are performed by Inventory Control Personnel as a way of maintaining an accurate inventory count.
Contents
To perform a cycle count:
Select Cycle Count from the Inventory Menu. Either highlight your desired choice and press "<Enter>" or simply type in the appropriate menu number.
To Count Items
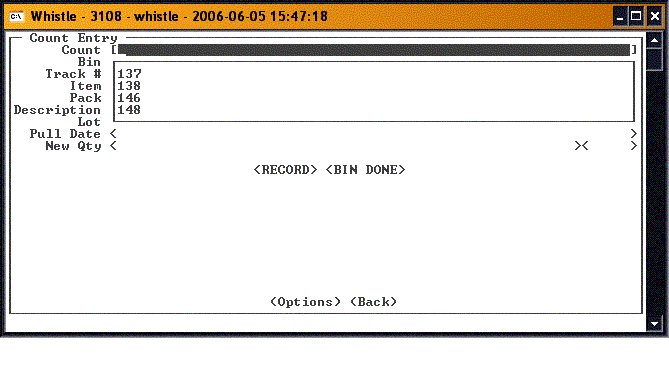
Enter the Count Sheet that you would like to use. This field is only available when the Read Whistle Count Sheets window setting is turned on.
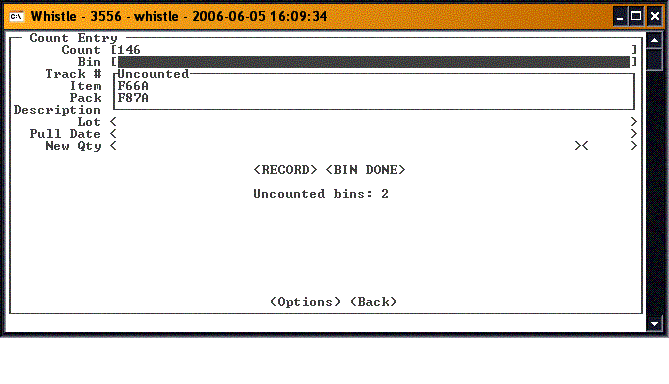
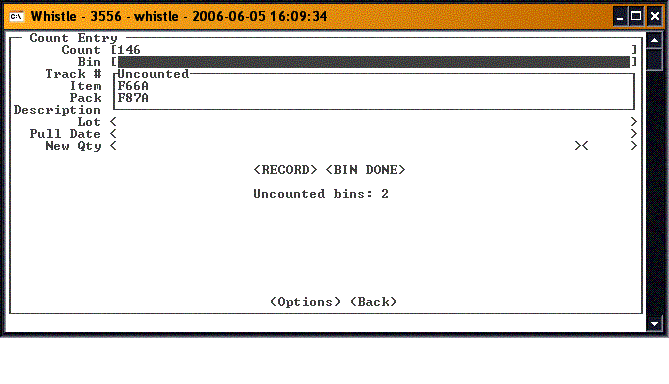
Enter the Bin # that you would like to count. A list of uncounted bins is displayed when the cursor is in the Bin Field.
Enter the Tracking # that you would like to count. A list of uncounted tracking numbers in the current bin will be displayed.
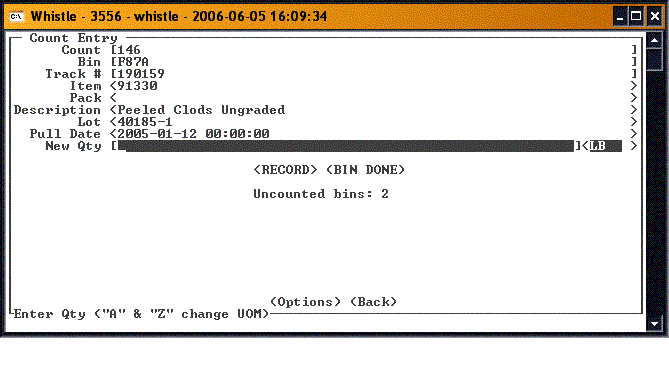
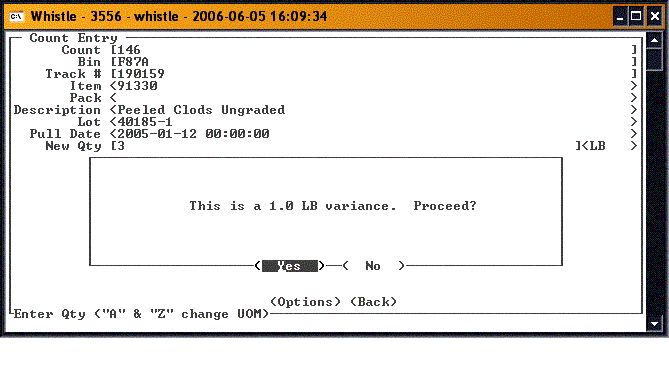
Enter the quantity of the particular item that is on the container in the New Qty field. Remember to enter the quantity in terms of the UOMs displayed. You can also press Ctrl-S to enter the weight information in the Scale Window.
Select "<Record>" to record the container’s count.
Select "<Bin Done>" to finish counting the Bin. Remember that all uncounted containers will be recorded as 0 (zero).
Select "<Back>" to return to the Cycle Counting main screen.
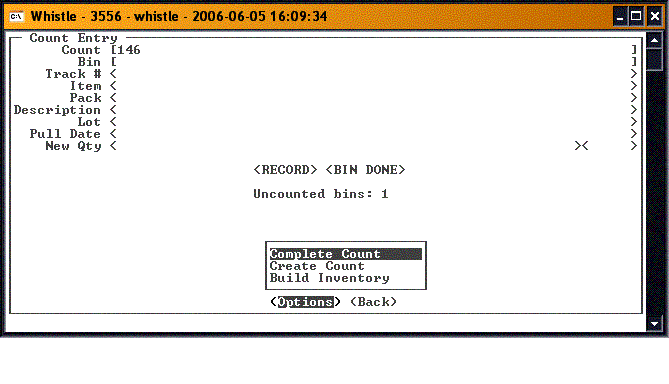
To see the selections, highlight the "<Options>" button, and press "Enter".
Complete Count
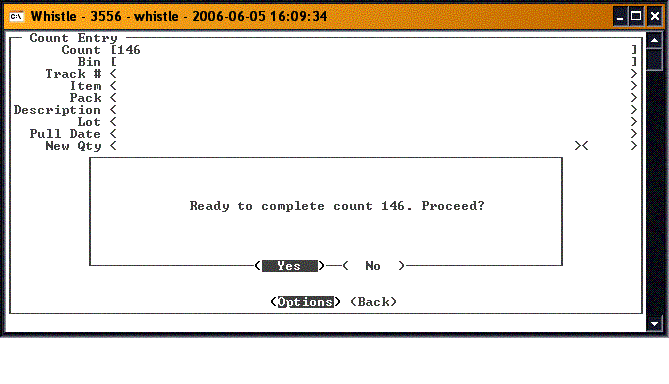
Select "<Options>" and then "Complete Count" to finish the count.
If you are ready to complete this count, press "Enter".
Create Count
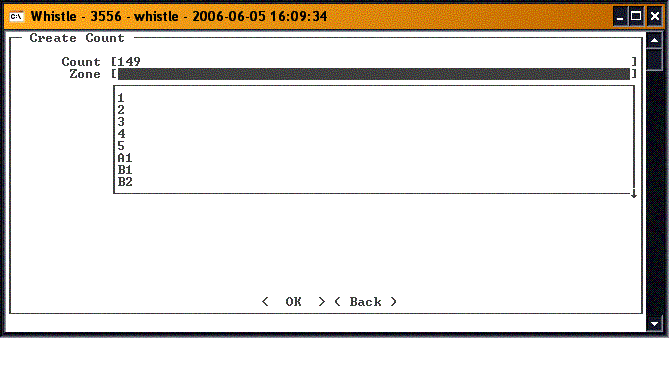
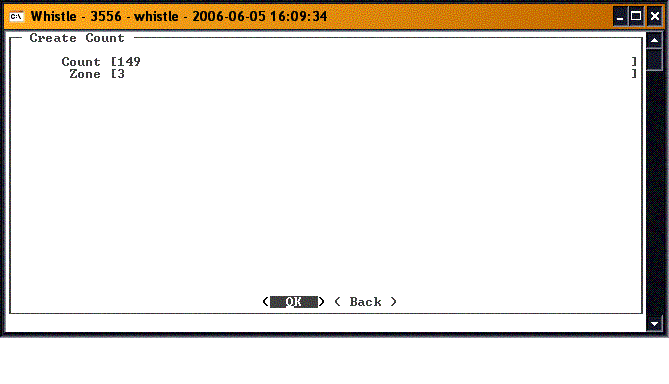
Select "<Options>" and then "Create Count" to create a new count.
The next available count number will automatically fill in the Count field.
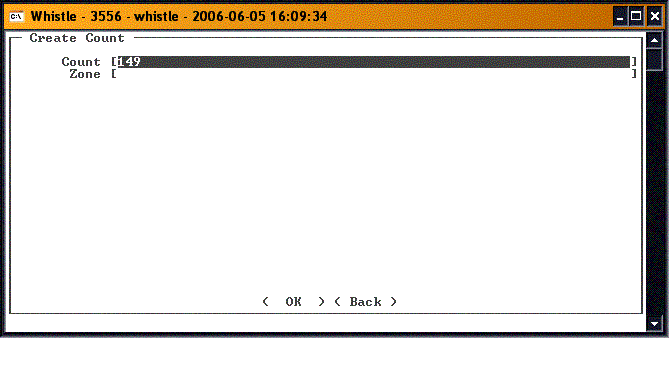
You will see a dropdown list of the count zones. Select the zone you want to include on this count.
Press "Enter" to continue.
When the Count has been built, a message will display:
Press "Enter" to continue.
Build Inventory
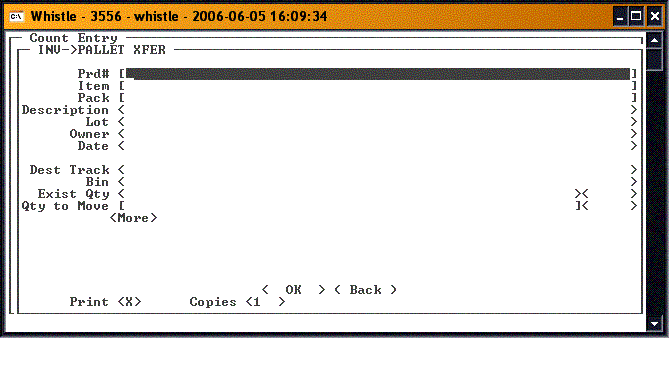
Select "<Build Inventory>" to create new pallets.
This is the same screen as used to build pallets from inventory, *Inventory to Pallet Transfer. See that section of the user guide for details.
Select the "<Back>" button or press "ESC" to exit back to the main Cycle Count screen.
