Difference between revisions of "GS:Load Ship Window"
| Line 21: | Line 21: | ||
[[Image:LoadShip5.gif|500px|Image:LoadShip5.gif|500px]] | [[Image:LoadShip5.gif|500px|Image:LoadShip5.gif|500px]] | ||
| + | |||
| + | |||
| + | If you have it set in the window settings, you will now be asked if you want to print the BOL Report. | ||
| + | |||
| + | [[Image:LoadShipPrintBOL.gif|500px|Image:LoadShipPrintBOL.gif|500px]] | ||
| + | |||
You will be returned to the Load field to select the next load for shipment. | You will be returned to the Load field to select the next load for shipment. | ||
Revision as of 10:00, 26 May 2006
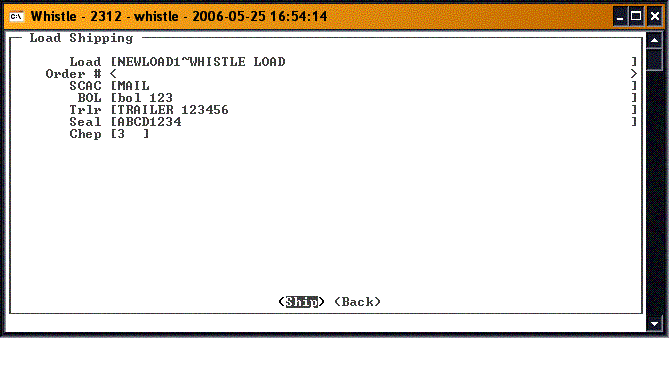
The Load Ship window is used to finish setting up a Load, and then ship it.
Select the Load in the Load field from the drop down list of prepared loads.
Enter the SCAC code, the BOL, and any additional information that has been selected in the window settings as necessary.
When you have finished, press the <Ship> button to ship this order.
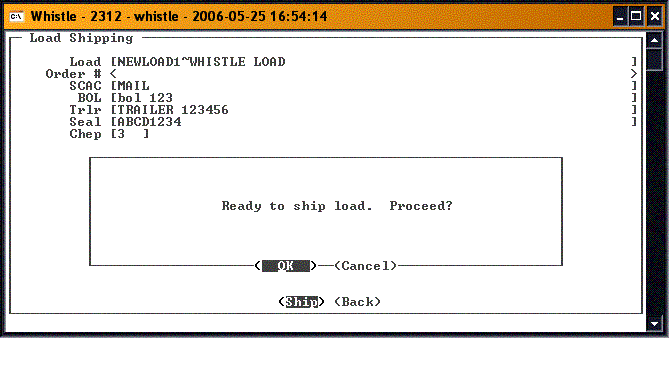
You will be asked to confirm that the load information has been completed, and that you are ready to ship this load.
Press <Yes> to continue and ship the load. You should see a confirmation message.
If you have it set in the window settings, you will now be asked if you want to print the BOL Report.
You will be returned to the Load field to select the next load for shipment.
When you have finished shipping, press either the <Back> button or "Esc" to return to the Shipping menu.


