Difference between revisions of "36:Stage Window"
| Line 127: | Line 127: | ||
====Split/Combine==== | ====Split/Combine==== | ||
| + | When you select this option, you will be taken to the Split Pallet screen. | ||
| + | [[Image:Stage7.gif|500px|Image:Stage7.gif|500px]] | ||
| + | For more information on this screen, see the [[36:SplitPallet window|SplitPallet window]] | ||
==[[36:Stage Window Settings|Stage Window Settings]]== | ==[[36:Stage Window Settings|Stage Window Settings]]== | ||
Revision as of 13:16, 24 May 2006
Staging is the operation where the user picks the assigned inventory for the Shipping Order and stages them in an area for the loading phase of the transaction.
Contents
To stage an order
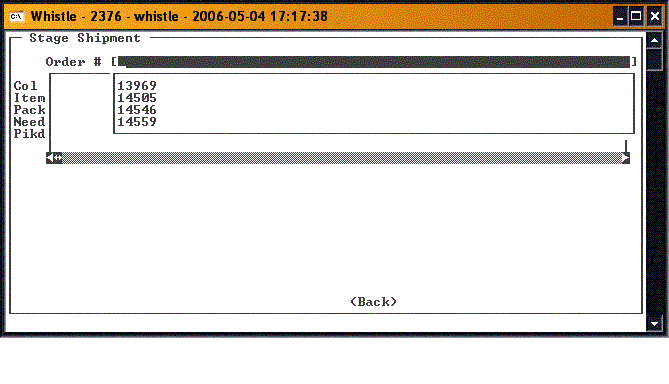
Order numbers are entered into the <Order #> field and assigned inventory is picked from the embedded result field showing each item needed to fill the order.
Enter the Order # in the Order # field, or select the order from the drop down list of orders scheduled to be staged.
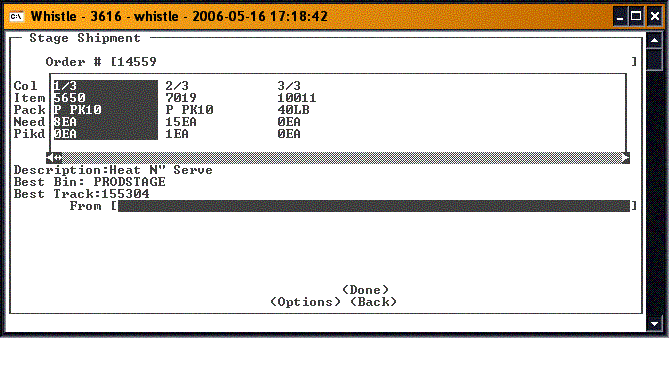
Select a pallet
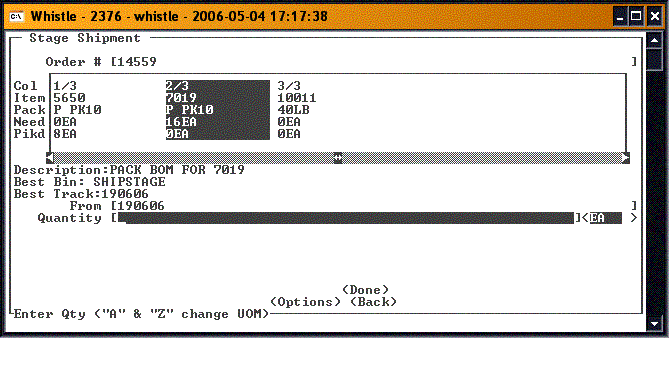
Select the order line to be filled, by scrolling to the embedded result set, and using the arrow keys to highlight one of the lines. Whistle will calculate a list of pallets that may be used to fill this line. The best pallet to be used, and the bin it is in, will be displayed below the result set.
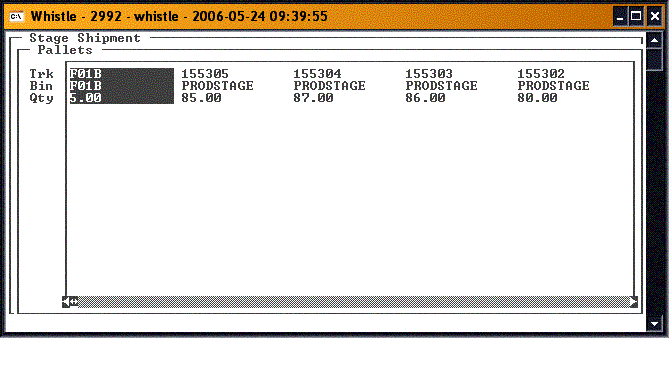
If you wish to use the suggested pallet, enter the pallet # in the From field. To view alternate suggestions for pallets, press Ctrl-A while in the From field. This will bring up a list of pallets that may be used.
- Note
- Selecting a pallet here will not display it in the Track # field on the Staging window; this list is for reference only.
Press "Esc" to return to the Staging window.
When the pallet has been entered, scroll to the Quantity field. Enter the quantity of the item on the pallet to be used for this order line.
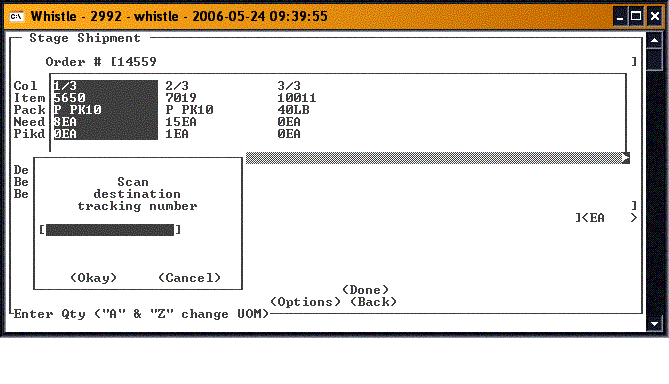
Now enter the pallet number that the inventory is to be transferred to.
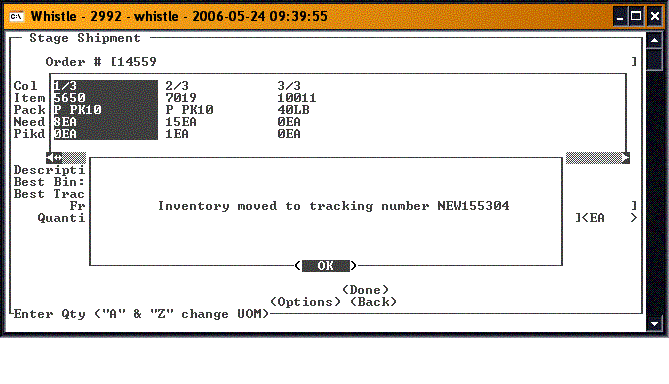
Pressing <OK> will bring up a confirmation message.
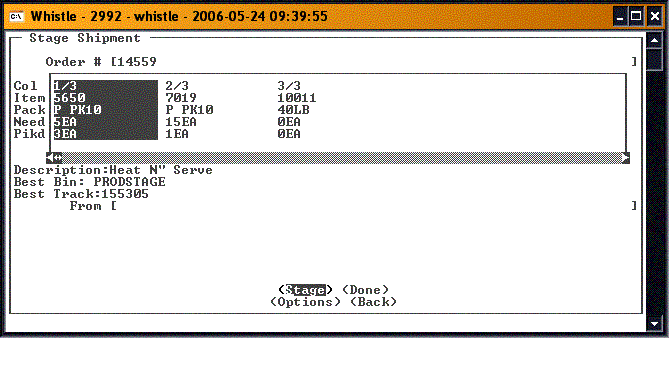
Press <OK> to continue. Focus will go to the From field, to enter another pallet. At this point, a <Stage> button is visible on the screen. When you have finished selecting pallets to fill the order lines, press the <Stage> button.
You will be asked to select a bin in which to Stage the order.
Continue to select order lines, and pallets and quantities to fill them, until you have finished. Press the <Done> button to finish staging this order.
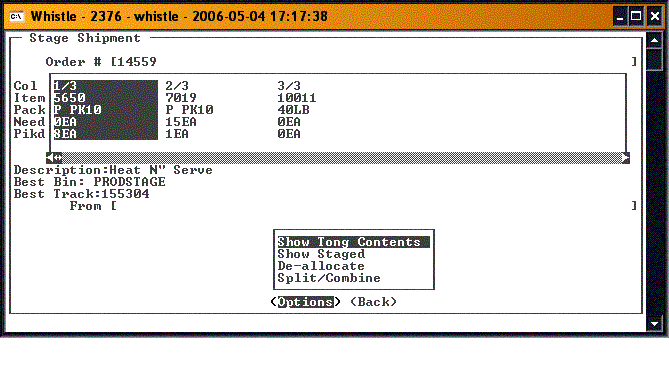
The Options menu is accessed by pressing the <Options> button. Here, you can view what has been staged for an order, see what pallets have been allocated to an order, remove a pallet from staging, or split or combine a pallet.
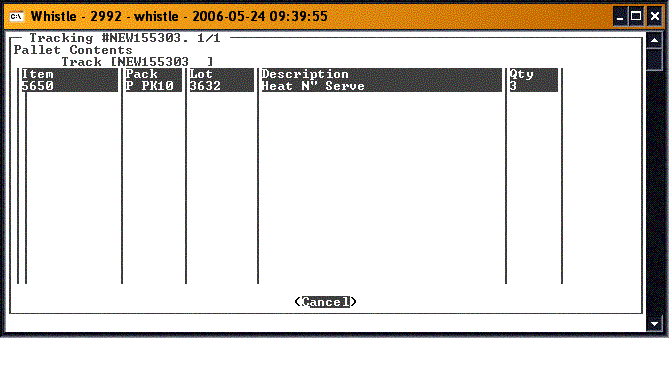
Show Tong Contents
This selection will show you the contents of the pallets that you selected earlier to contain the staged inventory.
Press <Cancel> or "Esc" to return to the Staging window.
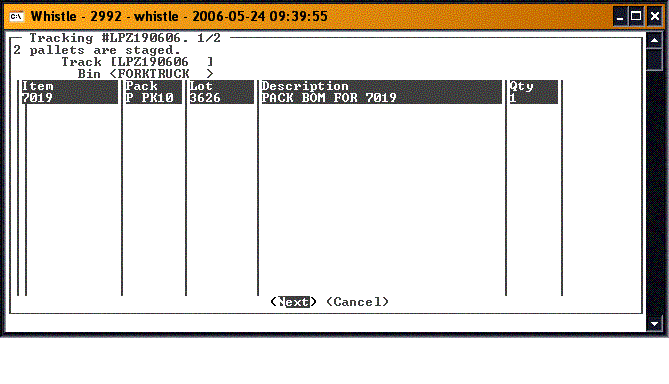
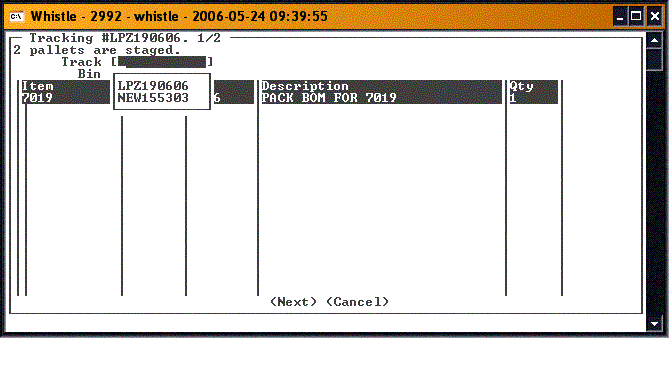
Show Staged
This screen shows everythig that has been staged so far.
The pallets can be shown one at a time, by selecting them in the Track drop down list. To do so, use the tab keys or the arrow keys to move to the Track field. Press the <Delete> button to force the drop down to display, if it does not automatically do so. Select the pallet to be viewed from the list by using the arrow keys to highlight it, and pressing <Enter>.
Or you can use the <Next> button to see the contents of the next pallet in the list.
When finished, press <Cancel> or "Esc" to return to the Staging window.
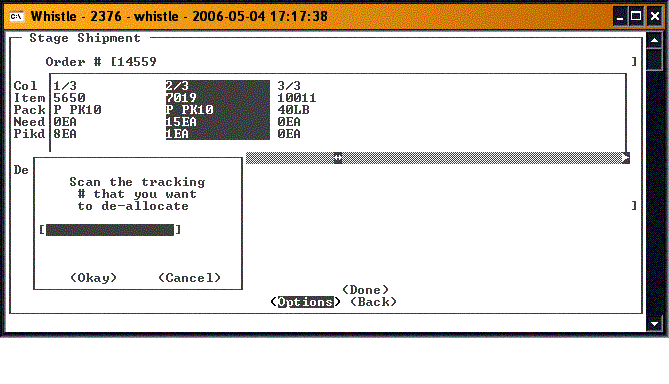
De-allocate
You will be asked to select the pallet to be deallocated.
Enter the number, and press <OK> to continue.
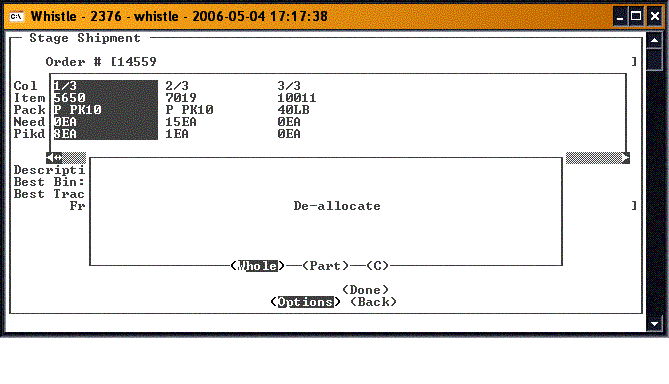
You will then be asked whether you wish to deallocate the entire pallet, or only part of the pallet, or to cancel the deallocation.
De-allocate Whole
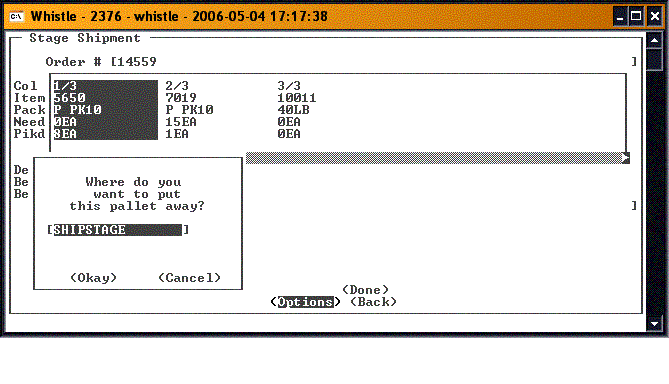
If you choose to deallocate an entire pallet, you will be asked where you wish to put the pallet.
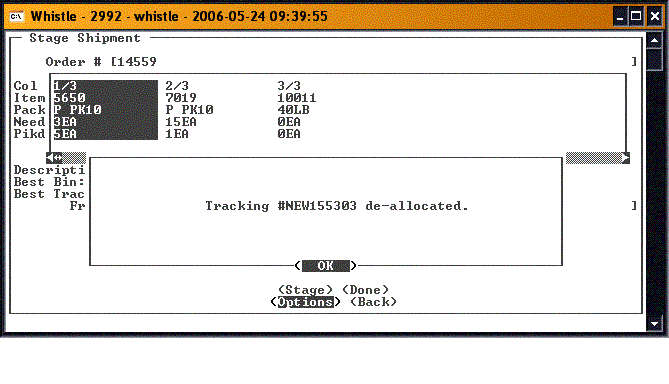
When you fill in this entry and press <OK>, you will see a confirmation message.
De-allocate Part
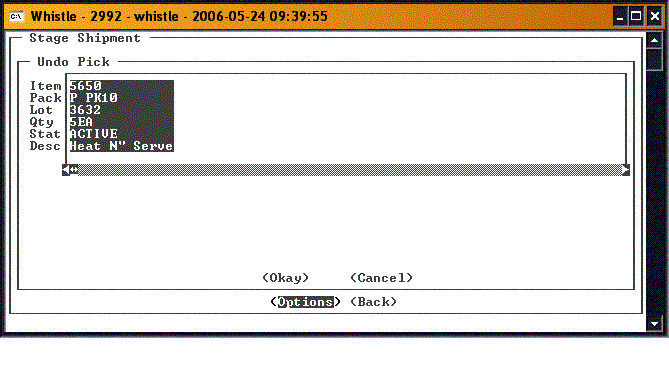
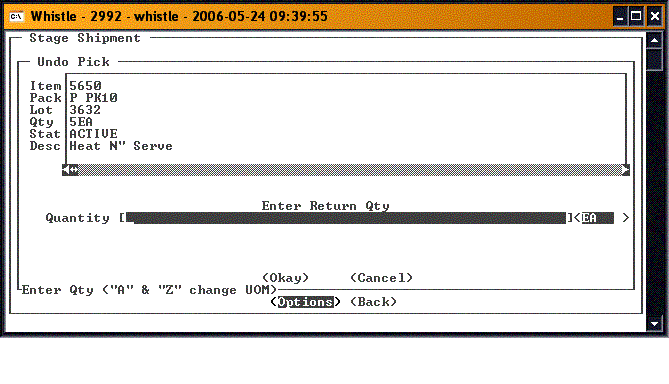
If you choose to deallocate part of a pallet, you will be taken to another screen. All of the inventory selected so far will be shown in an embedded result set. Use the arrow keys to select the inventory to be deallocated.
With the inventory highlighted, tab or use the arrow keys to leave the result set. At this point, the Quantity field should be visible.
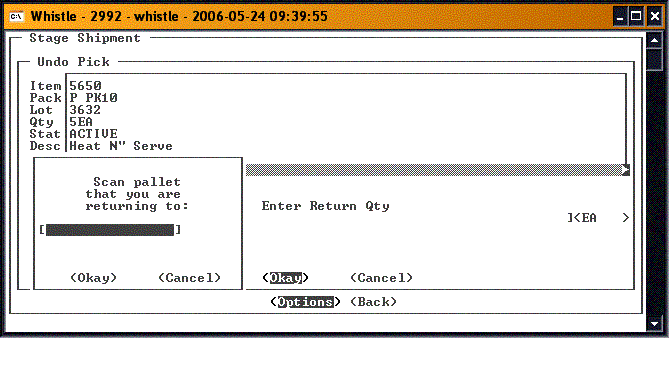
Enter the quantity of the selected inventory that you wish to deallocate. Select the <OK> button. You will be asked to select the pallet to receive the deallocated inventory.
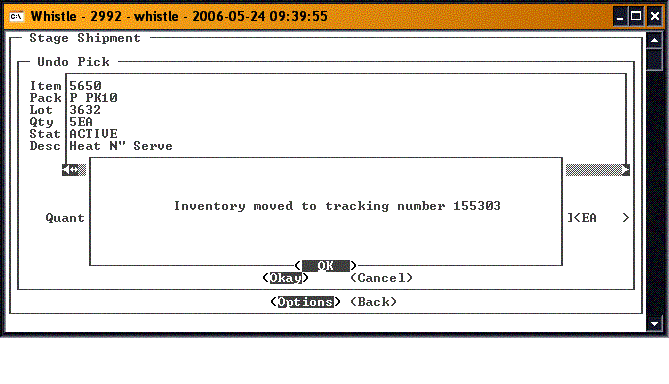
Enter the pallet number, and select the <OK> button. A confirmation message will appear.
When you press <OK>, you will be returned to the Staging window.
Split/Combine
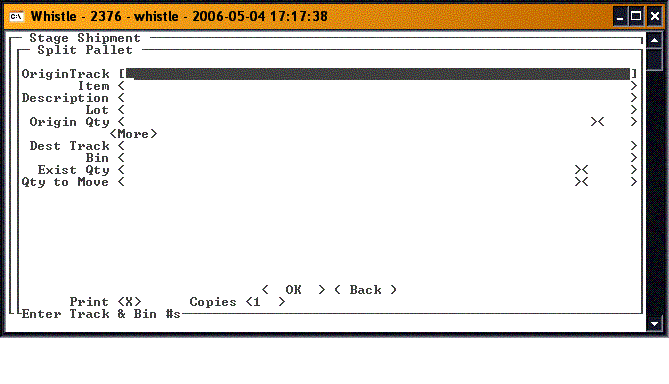
When you select this option, you will be taken to the Split Pallet screen.
For more information on this screen, see the SplitPallet window
